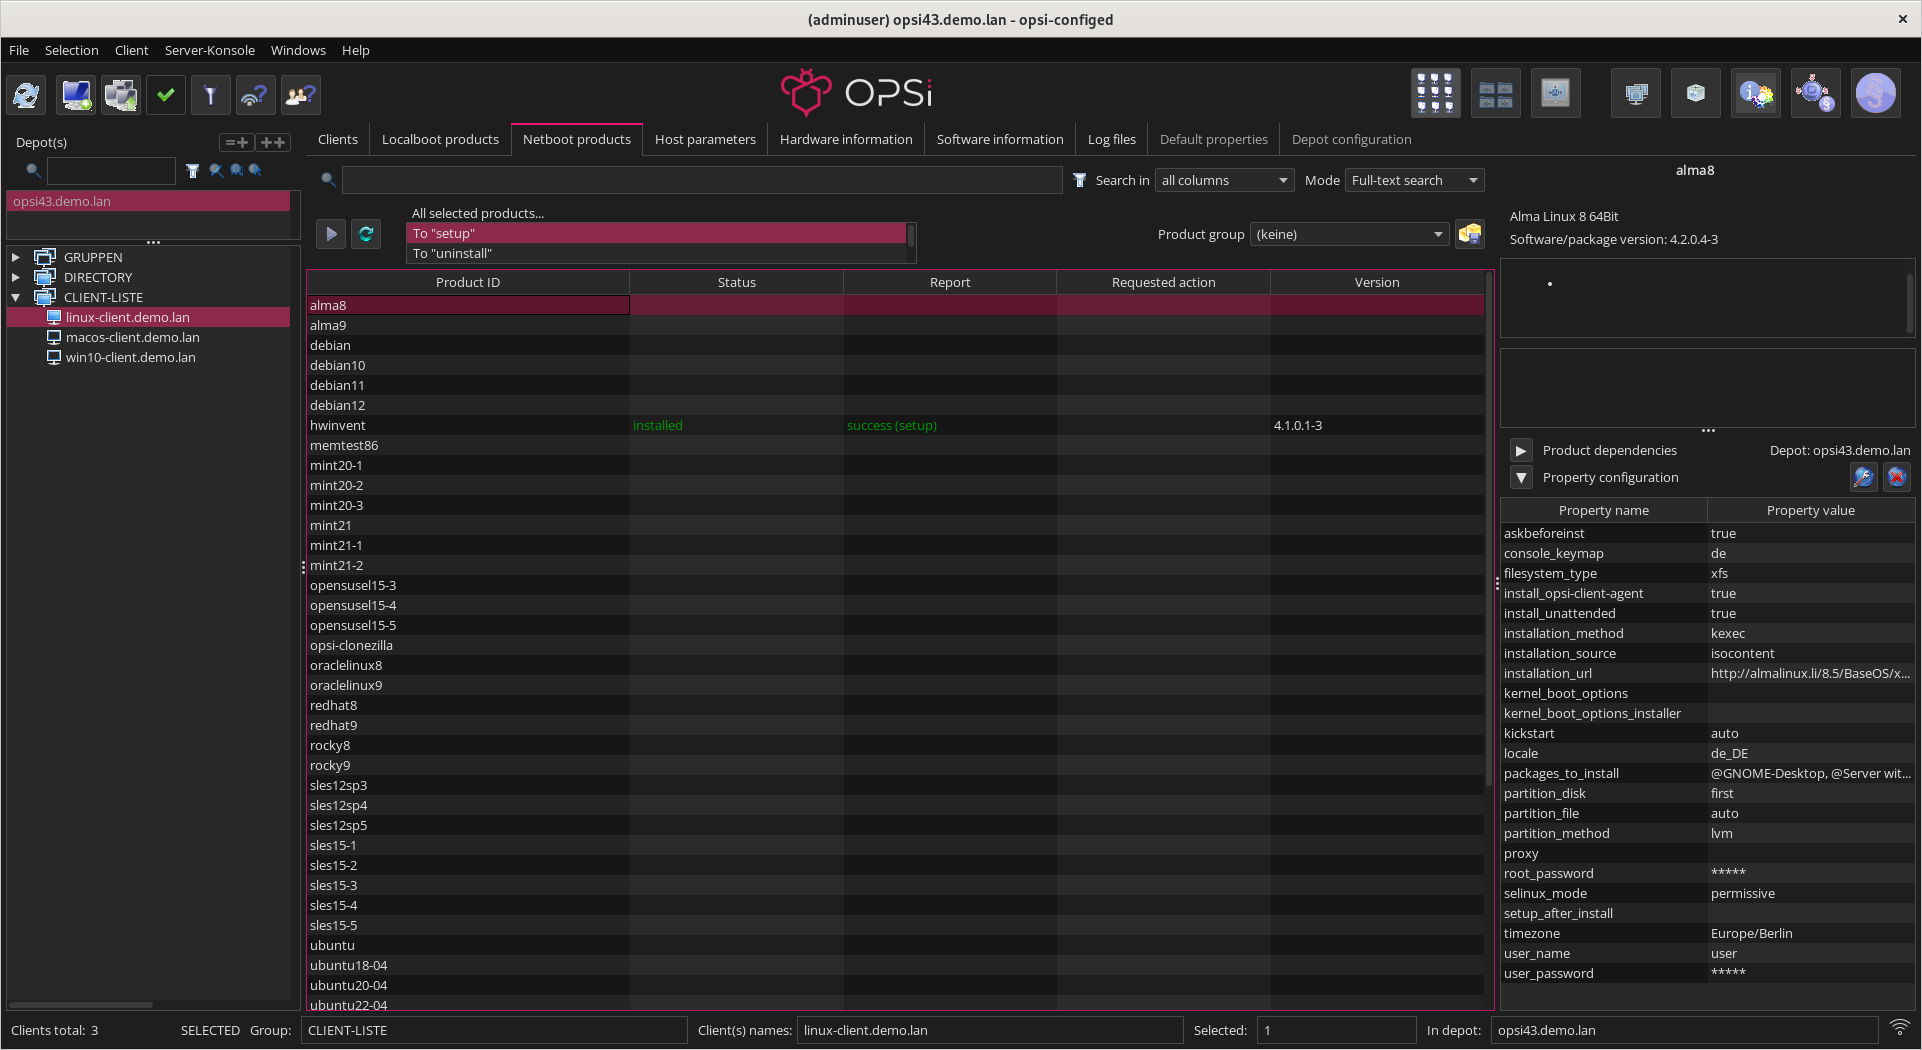
User Interface
After successfully logging in, you will see the main window of opsi-configed. Below the menu bar on the left, there is a group of icons. From left to right, these icons allow you to reload all data, create new opsi clients, open a search mask for clients, save changed configurations, filter the client display, check which clients are connected, and retrieve session information.

On the right side, there is also a group of icons. The first set of three icons selects the mode (see section Selecting the Mode). The five icons to the right each open separate dialogs for managing client groups and products, a dashboard, an overview of installed opsi extensions, and the License Management.

From almost all sections, you can copy data to the clipboard and paste it into other applications. Additionally, most opsi-configed tables support drag and drop, allowing you to conveniently transfer table data to a spreadsheet application.
|
Light and Dark Theme
Starting with opsi 4.3, opsi-configed supports a dark mode. To activate it, open the File menu and select Theme / Dark.

To switch back to the light theme, select Theme / Light from the File menu.
opsi-configed stores several settings on the local computer (where you launched the program), including the chosen theme, the last selected clients/groups, and depots. Thus, you will find the same settings upon restarting the program.
|
Selecting the Mode
Use the three icons on the top right (see Figure 2, “opsi-configed: Icons on the Right”) to switch between different modes:
Depending on your selection, the main window view changes, and different tabs are visible/active or appropriately grayed out.