opsi QuickInstall
opsi QuickInstall is a program to quickly and easily install an opsi-server on a Linux system—via a graphical setup tool or on the command line.
You can find our supported Linux distributions here:
Supported Linux Distributions
Preparations
First, make sure that the opsi-server has a valid DNS hostname. To do this, either check the entries in the /etc/hosts file or enter the following command:
getent hosts $(hostname -f)The result should look like this for example:
192.168.1.1 server.domain.tld serverThe output on your system should show the server’s IP address to which the opsi clients connect later on. It’s followed by the associated hostname, and the third field contains an optional alias (here: server), under which the computer can also be reached.
The file may look different on your distribution. If it contains only entries for 127.0.0.1 or localhost, edit the file /etc/hosts in the text editor of your choice. For the opsi-server, enter at least the IP address and the full host name, optionally an alias.
Download opsi QuickInstall
opsi-QuickInstall can be found on our servers under the following link: https://download.uib.de/opsi4.2/stable/quickinstall/
Download the zip file to your computer and unpack it, for example using this command on the shell:
unzip opsi-quick-install.zipAlternatively unpack the archive via the file manager of your graphical desktop environment (right click / Unpack here). You can install opsi QuickInstall wither with a graphical user interface or via the command line. The next two sections explain both ways.
The installer asks for so-called properties. For more information, please read the chapter on The product l-opsi-server. Here you can also find the default values of the properties. Note that for opsi QuickInstall the default for allow_reboot is set to false.
|
opsi QuickInstall: Graphical Setup Program
-
Change into the directory
guiin the file manager of your desktop environment and execute the installeropsi_quick_install_project, e.g. with a double click. -
In the following dialog box, select the language for the setup program from the upper drop-down menu. Choose the setup type as well. If you select Custom, then you can make more detailed settings.
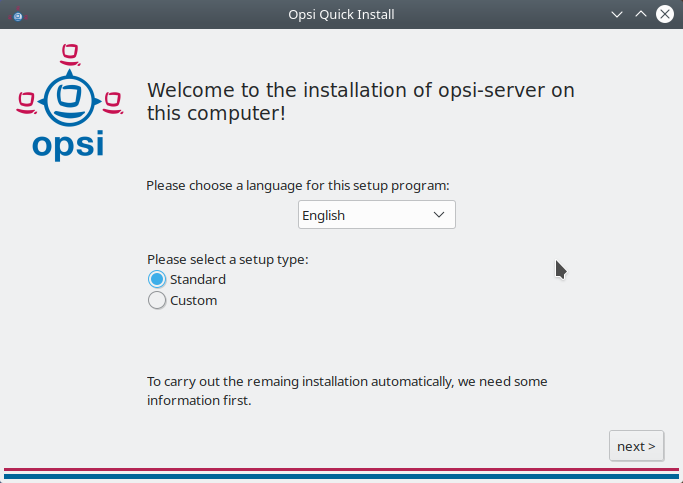 Figure 1. Choose the language and a setup type.
 -
Click on next > and fill in the dialogs.
Next to some fields you will find an iicon, which displays a tooltip with more information about the related topic.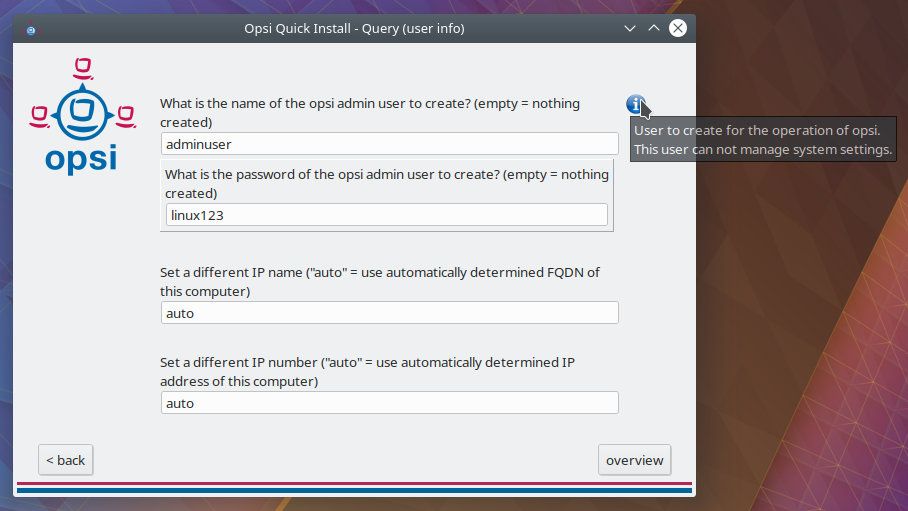 Figure 2. Hover the mouse over the small icon to display more information.
 -
In the last dialog window you fill in the fields opsi admin user and opsi admin password, among other things.
Be sure to choose a name other than the one shown in this example (Hover the mouse over the small icon to display more information.) and choose a strong password and not the one shown in this example. -
Click Overview to double-check your settings. If everything is correct, click finish, enter your password and confirm by clicking finish again. After that the opsi-server installation will start.
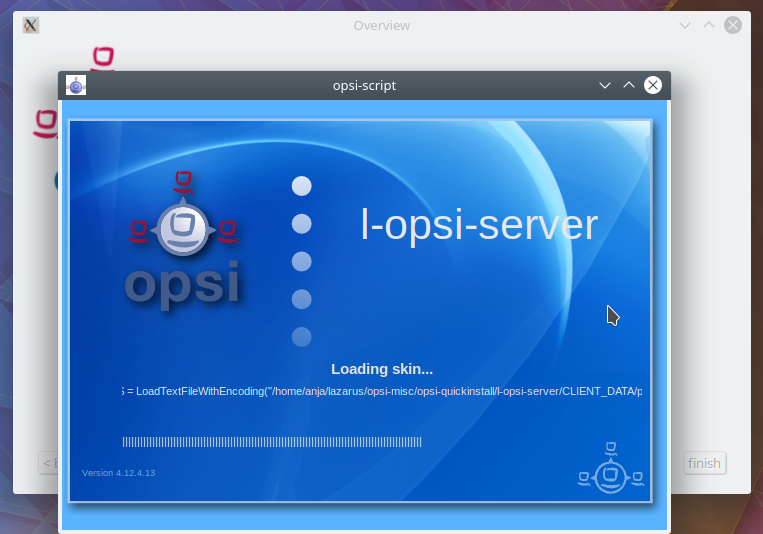
The installation may take a few minutes. When it’s finished, opsi QuickInstall will tell you if it was successful. If you see the message success, then your opsi-server is configured and ready for operation. You can now start with the installation of opsi products.
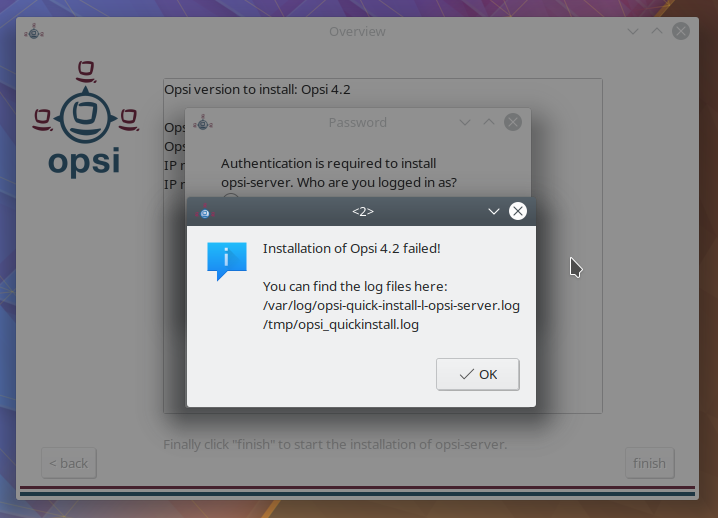
If you see a dialog like in If the installation fails, please check the log files for error messages. instead, please check the log files for error messages. You can find the logs in the two files /var/log/opsi-quick-install-l-opsi-server.log and /tmp/opsi_quickinstall.log.
| If you have a support contract, you can also contact the uib support. |
opsi QuickInstall: Installation on the Command Line
The directory nogui contains the program opsi_quick_install_project, which supports the following parameters:
-
-d: The setup program uses the default values for the opsi-server installation. It sets up the opsi admin user with the usernameAlexandra(opsi QuickInstall version 4.2.0.1) oradminuser(from version 4.2.0.1-2) and the passwordlinux123.For security reasons change these default values after the installation. -
-f <file>: The setup program uses the values from the specified file for the opsi-server installation. -
-n: The setup program starts in interactive mode and asks for some parameters during the installation (recommended).
Starting the Setup Program in Interactive Mode
To start the setup program in interactive mode, enter this command:
sudo ./opsi_quick_install_project -nAfter that, answer the questions. You can enter the following commands at any time:
-
-b: jumps back to the previous question -
-h: displays additional information for questions that are marked with* -
[Enter]: uses the default values for a question
A summary at the end shows all your answers for a final check. If everything is correct, click [Enter] to start the installation of the opsi-server.
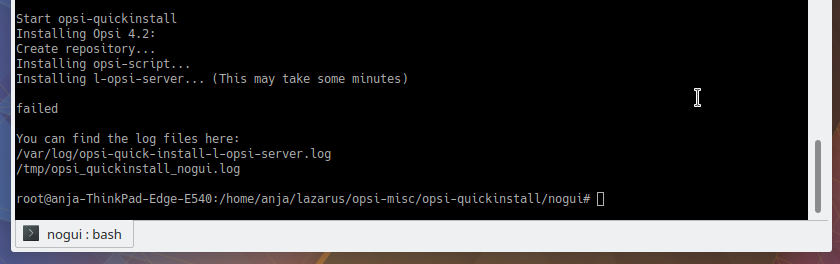
The installation may take a few minutes. When it’s finished, opsi QuickInstall will tell you if it was successful. If you see the message success, then your opsi-server is configured and ready for operation. You can now start with the installation of opsi products.
If you see the message failed instead, instead, please check the log files /var/log/opsi-quick-install-l-opsi-server.log and /tmp/opsi_quickinstall.log for error messages.
| If you have a support contract, you can also contact the uib support. |
Supported Linux Distributions
opsi QuickInstall works under the following distributions (names according to the output of the lsb_release command or according to the file os-release, since QuickInstall itself uses these names):
-
AlmaLinux 8, AlmaLinux 9,
-
Debian 9, Debian 10, Debian 11,
-
openSUSE 15.2, openSUSE 15.3, openSUSE 15.4,
-
RedHatEnterprise 8, RHEL 9,
-
Rocky 8, Rocky 9,
-
SUSE 15.1, SUSE 15.2, SUSE 15.3, SUSE 15.4,
-
Ubuntu 18.04, Ubuntu 20.04, Ubuntu 22.04,
-
Univention 4.4, Univention 5.0
-
AlmaLinux 8,
-
Debian 10, Debian 11,
-
openSUSE 15.2, openSUSE 15.3, openSUSE 15.4,
-
RedHatEnterprise 8,
-
Rocky 8,
-
SUSE 15.1, SUSE 15.2,
-
Ubuntu 18.04, Ubuntu 20.04, Ubuntu 22.04,
-
Univention 4.4, Univention 5.0
-
AlmaLinux 8,
-
Debian 10, Debian 11,
-
openSUSE 15.2, openSUSE 15.3,
-
RedHatEnterprise 8,
-
Rocky 8,
-
SUSE 15.1, SUSE 15.2,
-
Ubuntu 18.04, Ubuntu 20.04, Ubuntu 22.04,
-
Univention 4.4, Univention 5.0
-
Debian 10, Debian 11,
-
openSUSE 15.2, openSUSE 15.3,
-
SUSE 15.1, SUSE 15.2,
-
Ubuntu 18.04, Ubuntu 20.04,
-
Univention 4.4