User Interface
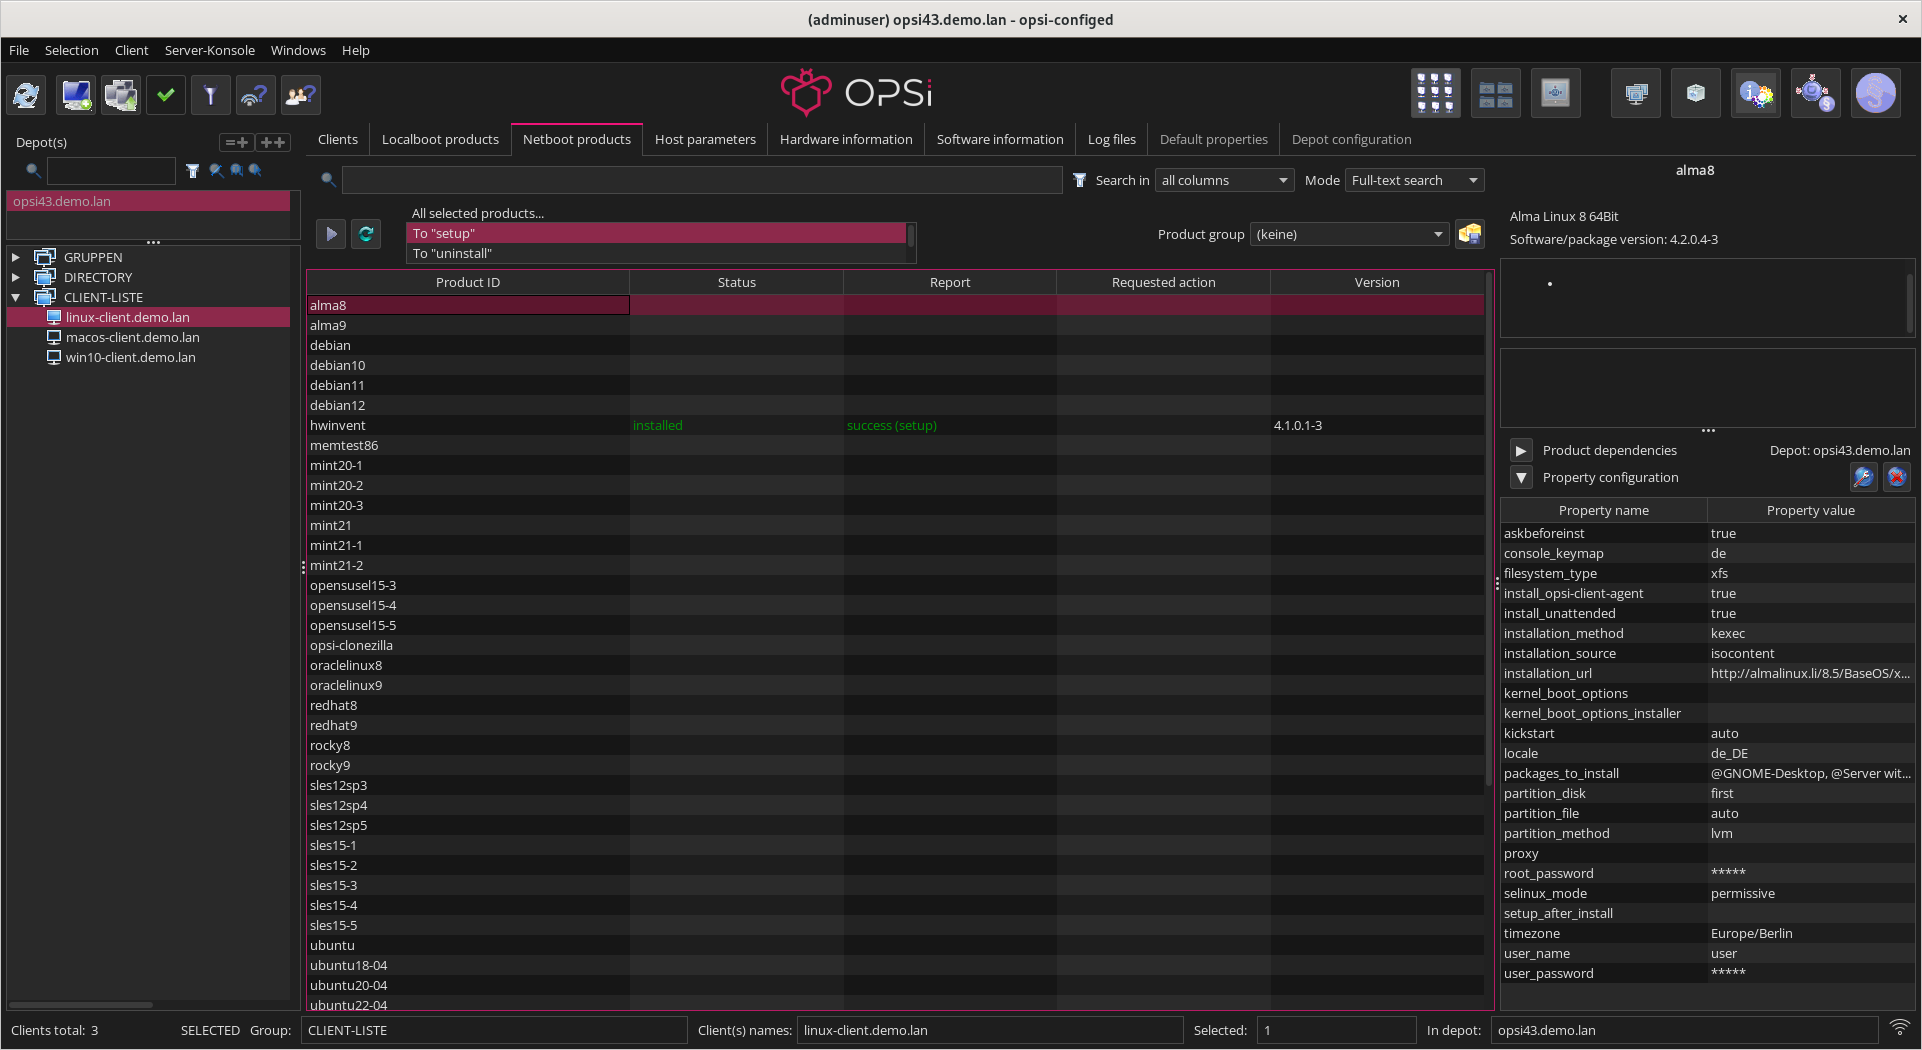
After successfully logging in, you will see the main window of opsi-configed. On the left-hand side, you will find a group of icons that you can use to select the various main displays. The Client configuration is selected by default. The following displays exist:
-
Dashboard
-
Health Check

In the top bar, the title of the currently selected view is displayed in the middle. On the left-hand side there is an icon for a complete reload of all data and an icon for saving. On the right-hand side, there are view-specific icons that have different functions depending on the selected view. In the client configuration, there is an icon for creating a new client and one for a free client search.

From almost all sections, you can copy data to the clipboard and paste it into other applications. Additionally, most opsi-configed tables support drag and drop, allowing you to conveniently transfer table data to a spreadsheet application.
|
Light and Dark Theme
Starting with opsi 4.3, opsi-configed supports a dark mode. To activate it, open the File menu and select Theme / Dark.
To switch back to the light theme, select Theme / Light from the File menu.
opsi-configed stores several settings on the local computer (where you launched the program), including the chosen theme, the last selected clients/groups, and depots. Thus, you will find the same settings upon restarting the program.
|