opsi User Interface
There are currently two graphical interfaces available for managing the opsi server, clients, and related tasks:
-
The Java application opsi-configed
-
The opsi-WebGUI for web browsers
This chapter will focus on the opsi-configed interface.
opsi-configed: Download and Start
You can access a portable version of the application at https://tools.43.opsi.org/stable/. Download opsi-configed suitable for your operating system: opsi-configed-windows.exe for Windows, opsi-configed-linux.run for Linux, and opsi-configed-macos for macOS.
On Linux and macOS, you need to make the downloaded file executable. Use the chmod command:
|
chmod +x opsi-configed-linux.run
chmod +x opsi-configed-macos
Once you start the application, a login window will appear. Enter the full hostname (FQDN) of the opsi server or its IP address, along with the username and password:
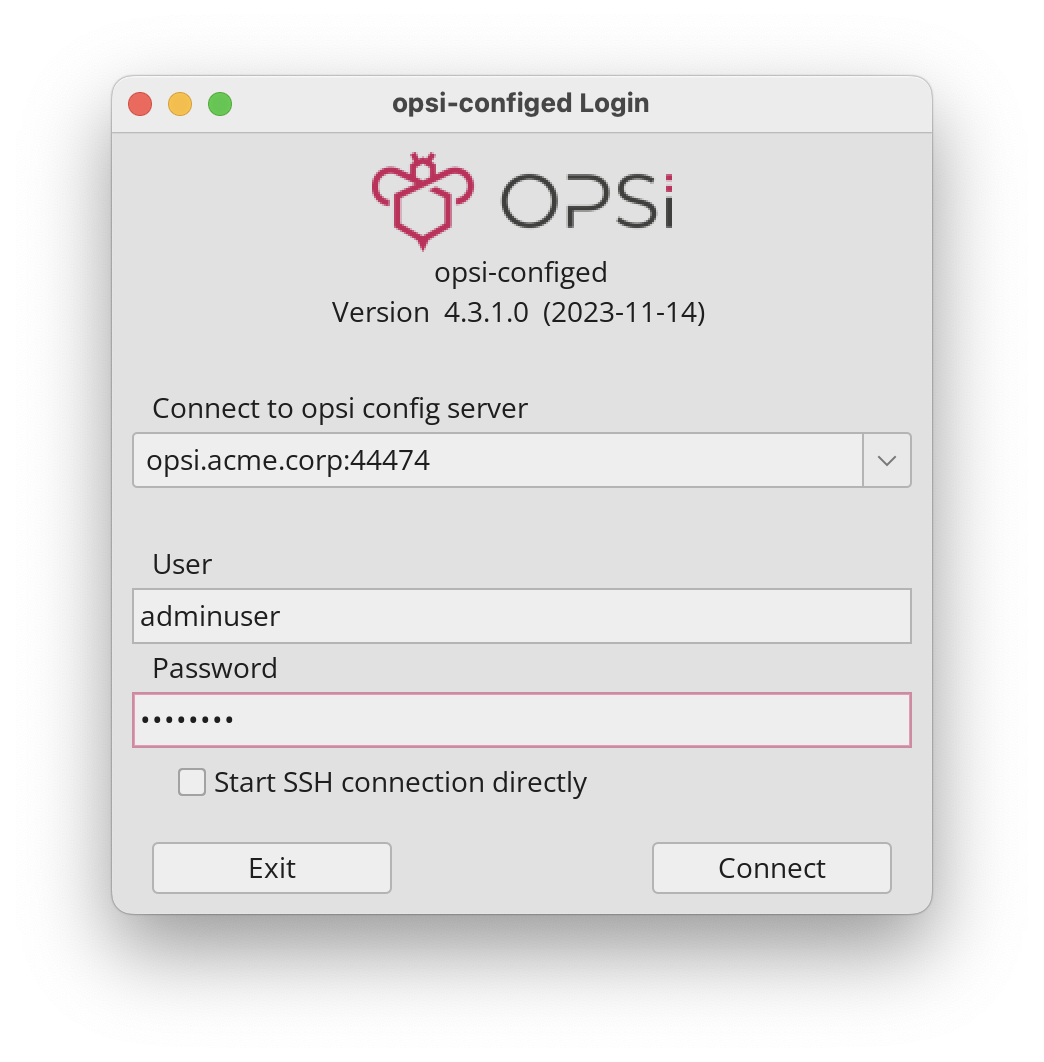
If your login is successful, the main window will be displayed:
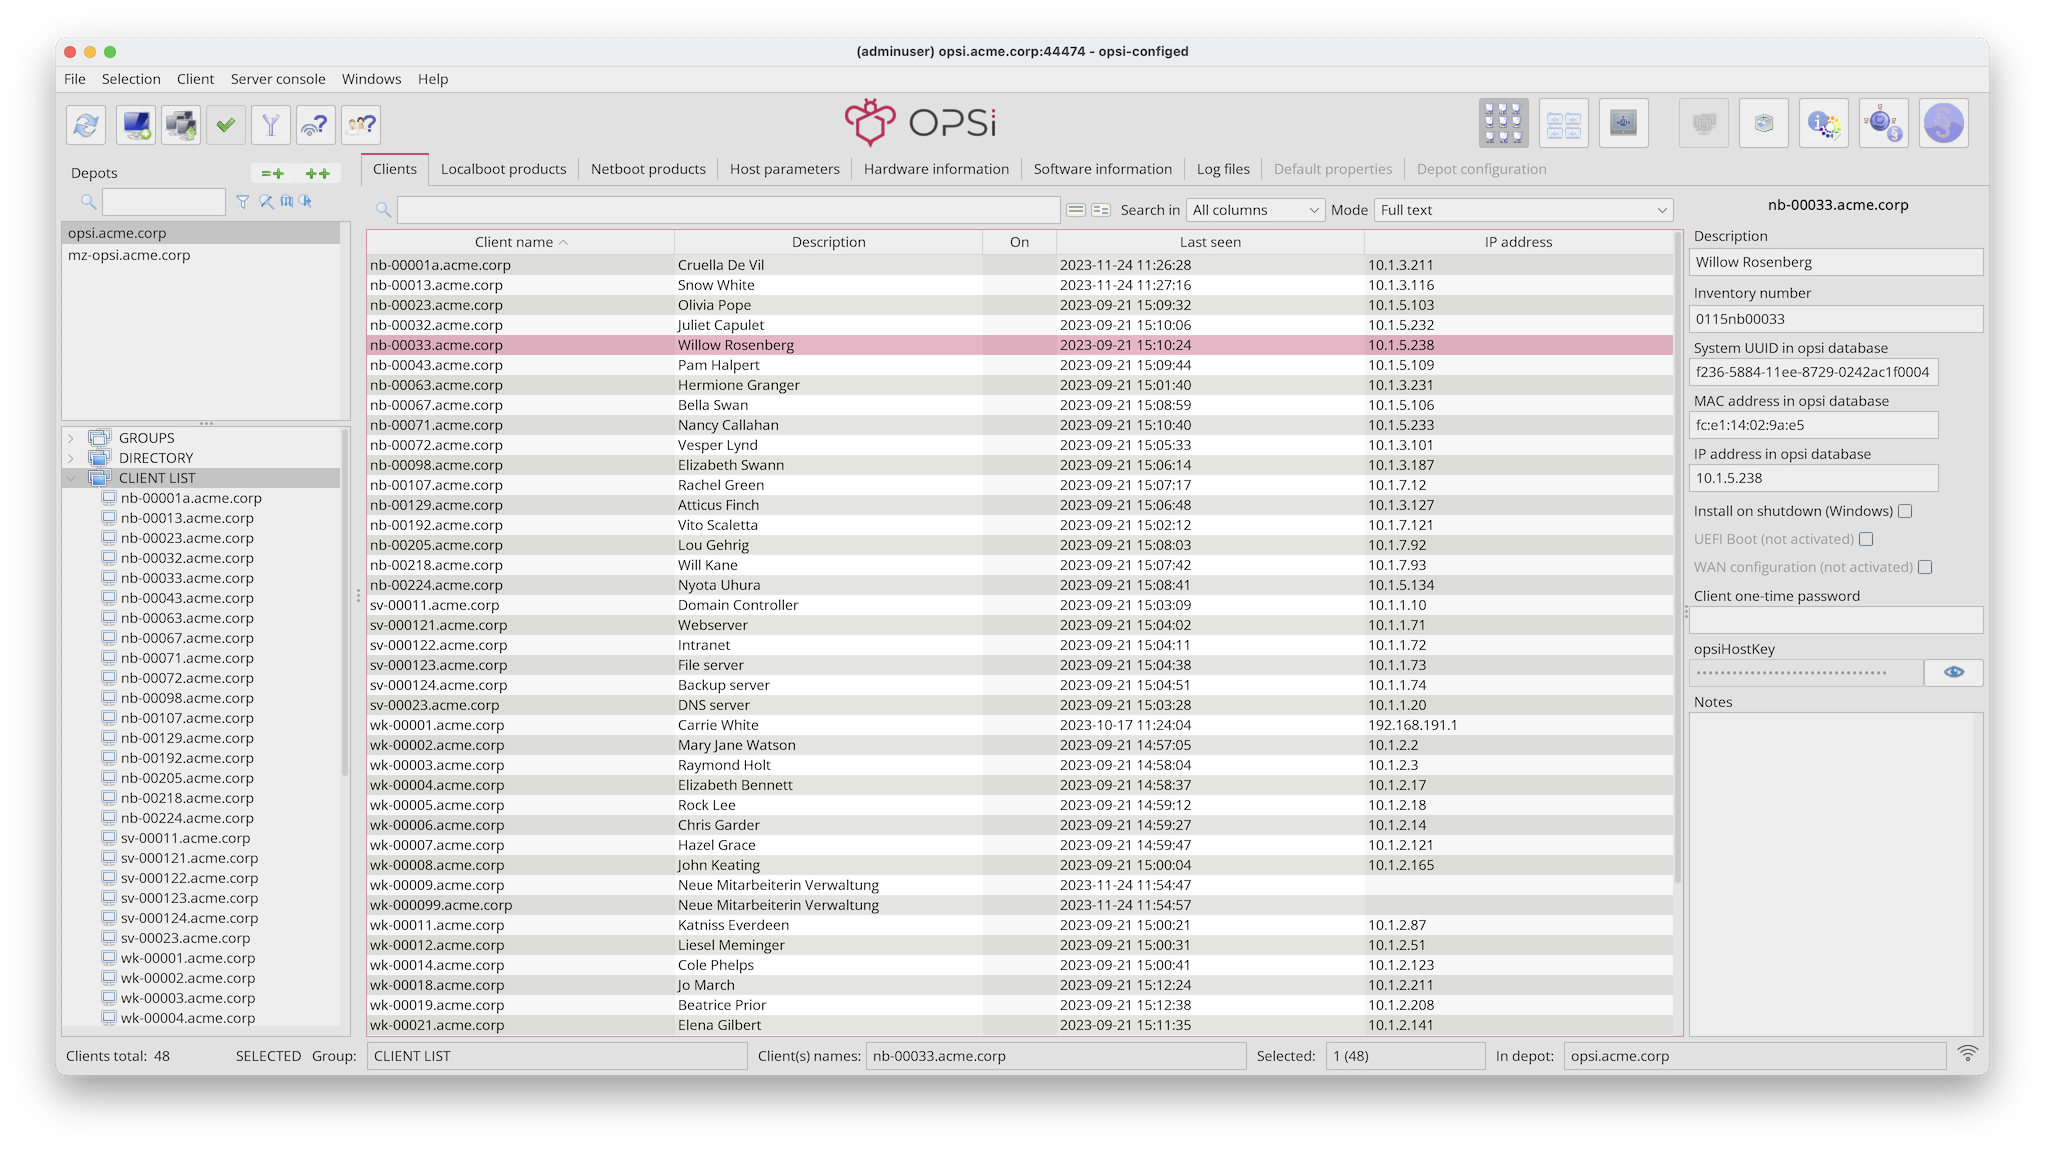
The screenshot provided already displays clients and opsi products. However, in your initial setup, these elements may not yet be visible in your environment. To learn how to deploy products (opsi packages) to the server, please proceed to the next chapter.