opsi QuickInstall
opsi QuickInstall is a tool designed to facilitate the installation of an opsi server on Linux. This program provides both graphical and command line interfaces for installation, and can be found on our servers.
Proxy Settings
For the installation process, it’s important to ensure that you have Internet access via HTTP/HTTPS.
If you need to access through an HTTP proxy, it’s recommended to set the proxy settings at a system-wide level using environment variables. These should be entered into the /etc/environment file.
| Keep in mind that the names of these environment variables consist only of lowercase letters. |
-
http_proxy: Configures the proxy for HTTP connections. It requires the full URL, including if authentication is needed:
http_proxy=http://<user>:<password>@<proxy-address>:<port> -
https_proxy: Similar tohttp_proxybut for HTTPS connections:
https_proxy=https://<proxy-address>:<port> -
no_proxy: Lists addresses that should bypass the proxy. Use commas to separate multiple addresses:
no_proxy=127.0.0.1,localhost,mydomain.example,hostname.domain.com:8080
Remember these rules for addresses:-
Only use lowercase letters.
-
Include IP addresses only for direct access via IPs, as no name resolution occurs for exceptions.
-
CIDR notation for IP address ranges (like
192.168.0.0/24) is not supported. -
Always include exceptions for
localhostand127.0.0.1. -
Wildcards and regular expressions are not supported.
-
Treat each name as a suffix, so
domain.comapplies to all hostnames ending indomain.com. -
Optionally, add a specific port after a colon for each address to confine the exception to that port.
-
Here’s an example for setting up the /etc/environment file:
http_proxy=http://10.1.1.1:8080
https_proxy=https://10.1.1.1:8080
no_proxy=127.0.0.1,localhost,company.tld
To apply the changes to the currently running shell, execute the following commands:
set -a; source /etc/environment; set +a
For Suse distributions, the NO_PROXY parameter in the /etc/sysconfig/proxy file needs to be adjusted. Set NO_PROXY=127.0.0.1,localhost,company.tld as appropriate.
|
If the access to opsiconfd is channeled through a proxy, the service requests will appear to originate from the IP address of the proxy. As a result, all functionalities that rely on the client’s IP address, such as networks, admin-networks, update-ip, or max-session-per-ip, might not operate correctly. To address this, you can define trusted proxy addresses using the trusted-proxies parameter. When a connection comes from a trusted proxy, the server will look at the X-Forwarded-For header to ascertain the real IP address of the client.
Example:
admin-networks=[192.168.10.0/24]
trusted-proxies=[192.178.16.27]
Downloading and unpacking QuickInstall
Download the zip file and unpack it. You can use the following command in the console:
unzip opsi-quick-install.zipAlternatively, you can unzip the archive using the file manager of your graphical desktop environment. Right-click on the file and select Unzip here.
opsi-QuickInstall can be installed either with a graphical user interface or via the command line. The next two sections will describe both installation methods.
The installer asks for so-called properties. For more information, please read the chapter on The Product l-opsi-server. Here you can also find the default values of the properties. Note that for opsi QuickInstall the default for allow_reboot is set to false.
|
Graphical Setup Program
-
Navigate to the
guidirectory in the file manager of your desktop environment and launch the installeropsi_quick_install_project, typically by double-clicking on it. -
In the dialog box that appears next, select your preferred language for the setup program from the drop-down menu at the top. Also, choose the setup type. Selecting Custom allows you to access more detailed settings.
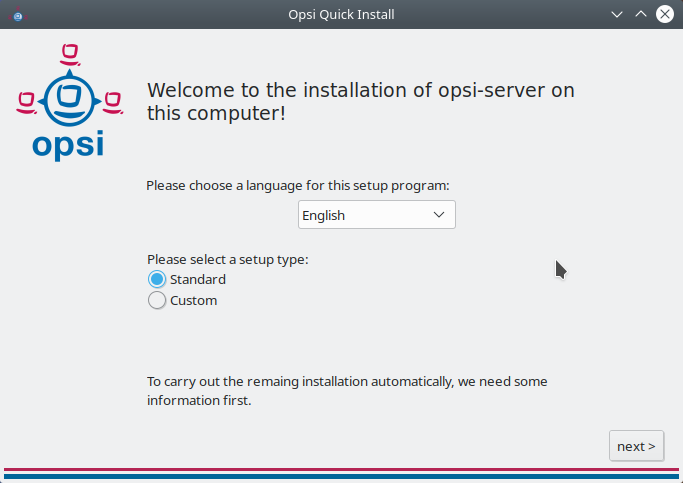 Figure 1. Choose the Language and a Setup Type.
 -
Click on next > and proceed to fill in the information in the subsequent dialogs.
Beside some fields, you will notice an iicon. Hovering over this icon will display a tooltip providing additional information about the related topic.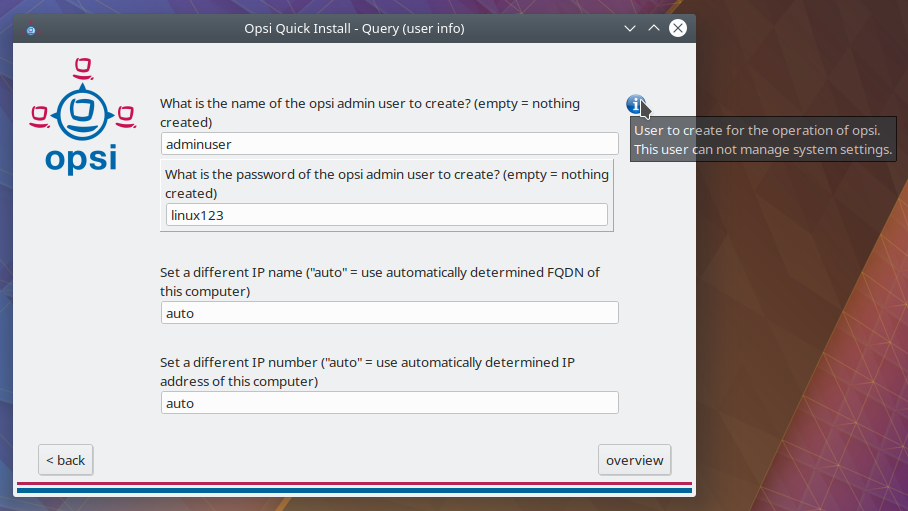 Figure 2. Hover the mouse over the small icon to display more information.
 -
Enter the name and password for the
opsiadminuser (see the chapter Authorizations).Be sure to choose a different name and a strong password and not the one shown in this example (Figure 2, “Hover the mouse over the small icon to display more information.”). -
Click on Overview to review your entered details. Once you confirm that everything is correct, click on finish. You will then be prompted to enter your password. Confirm by clicking on finish again, and this will initiate the installation of the opsi server.
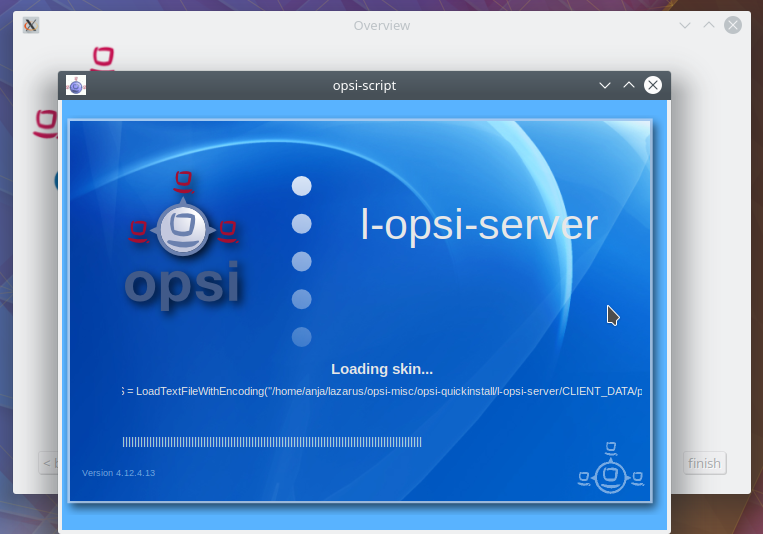
The installation of the opsi server might take several minutes to complete. Upon finishing, opsi QuickInstall will inform you if it was successful. If you see a success message, your opsi server is ready for use and fully configured.
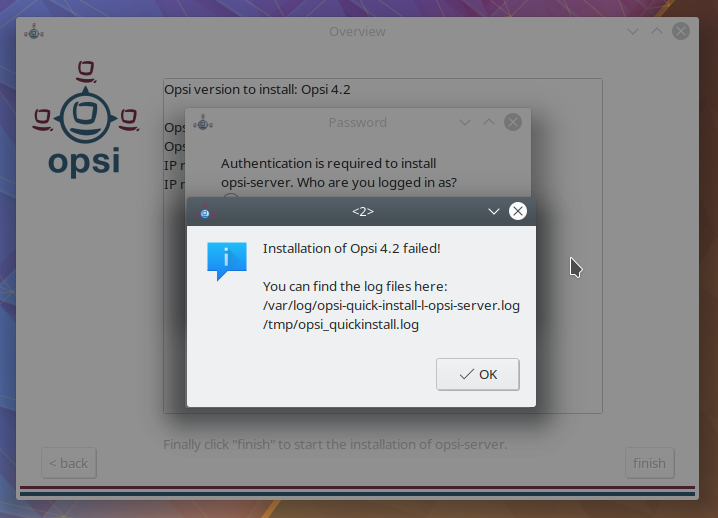
However, if you encounter an error message similar to the one shown in Figure 4, “If the installation fails, please check the logfiles for error messages.”, you can refer to the logfiles for details on potential issues. These logs are located in two files: /var/log/opsi-quick-install-l-opsi-server.log and /tmp/opsi_quickinstall.log.
Installation on the Command Line
The directory nogui contains the program opsi_quick_install_project, which supports the following parameters:
-
-d: The setup program uses the default values for the opsi server installation. It sets up the opsi admin user with the usernameAlexandra(opsi QuickInstall version 4.2.0.1) oradminuser(from version 4.2.0.1-2) and the passwordlinux123.For security reasons change these default values after the installation. -
-f <file>: The setup program uses the values from the specified file for the opsi server installation. -
-n: The setup program starts in interactive mode and asks for some parameters during the installation (recommended).
To start the setup program in interactive mode, enter this command:
sudo ./opsi_quick_install_project -nAfter that, answer the questions. You can enter the following commands at any time:
-
-b: jumps back to the previous question -
-h: displays additional information for questions that are marked with* -
[Enter]: uses the default values for a question
A summary at the end shows all your answers for a final check. If everything is correct, click [Enter] to start the installation of the opsi server.
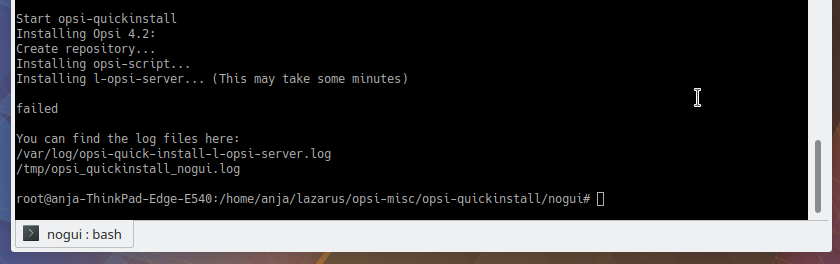
The installation of the opsi server might take several minutes to complete. Upon finishing, opsi QuickInstall will inform you if it was successful. If you see a success message, your opsi server is ready for use and fully configured.
However, if you encounter an error message (failed), you can refer to the logfiles for details on potential issues. These logs are located in two files: /var/log/opsi-quick-install-l-opsi-server.log and /tmp/opsi_quickinstall.log.
As an alternative to the opsi-server-full package, you can install either opsi-server or opsi-server-expert. These packages differ in their dependencies and are tailored for scenarios where you prefer to run MySQL, Redis, or Grafana on separate servers. While opsi-server and opsi-server-expert provide more flexibility, they are best suited for experienced Linux administrators.
|
| Make sure that your firewall and SELinux configurations permit connections on ports 69/UDP (TFTP) and both 4447/TCP and 4441/TCP (opsi). Further information on SELinux can be found at SELinux. |
The opsi server is now set up and ready for the next steps.