Rolling out Existing Products
To deploy software to clients, the Client Agent must be installed on each client.
This chapter describes the procedure for distributing software to clients via the Management Interface opsi-configed. The standard products available for macOS clients include the following:
-
opsi-mac-client-agent -
swaudit -
hwaudit -
m-homebrew(siehe auch The opsi Product m-homebrew) -
m-system-update -
opsi-configed -
opsi-auto-update -
m-javavm -
opsi-setup-detector -
windomain
Inventory (hwaudit/swaudit)
The hwaudit and swaudit products are used for hardware and software inventory on opsi clients. To install the two localboot products, follow these steps:
-
In the management interface, switch to Client configuration mode and select the client you want to configure.
-
If not done previously, update the database either through the menu File / Reload all data or by clicking the icon on the far left (with the two arrows).
-
Navigate to the Localboot products tab.
-
Click next to the hwaudit product in the Requested action column and select the setup option from the drop-down menu. Do the same for the swaudit product.
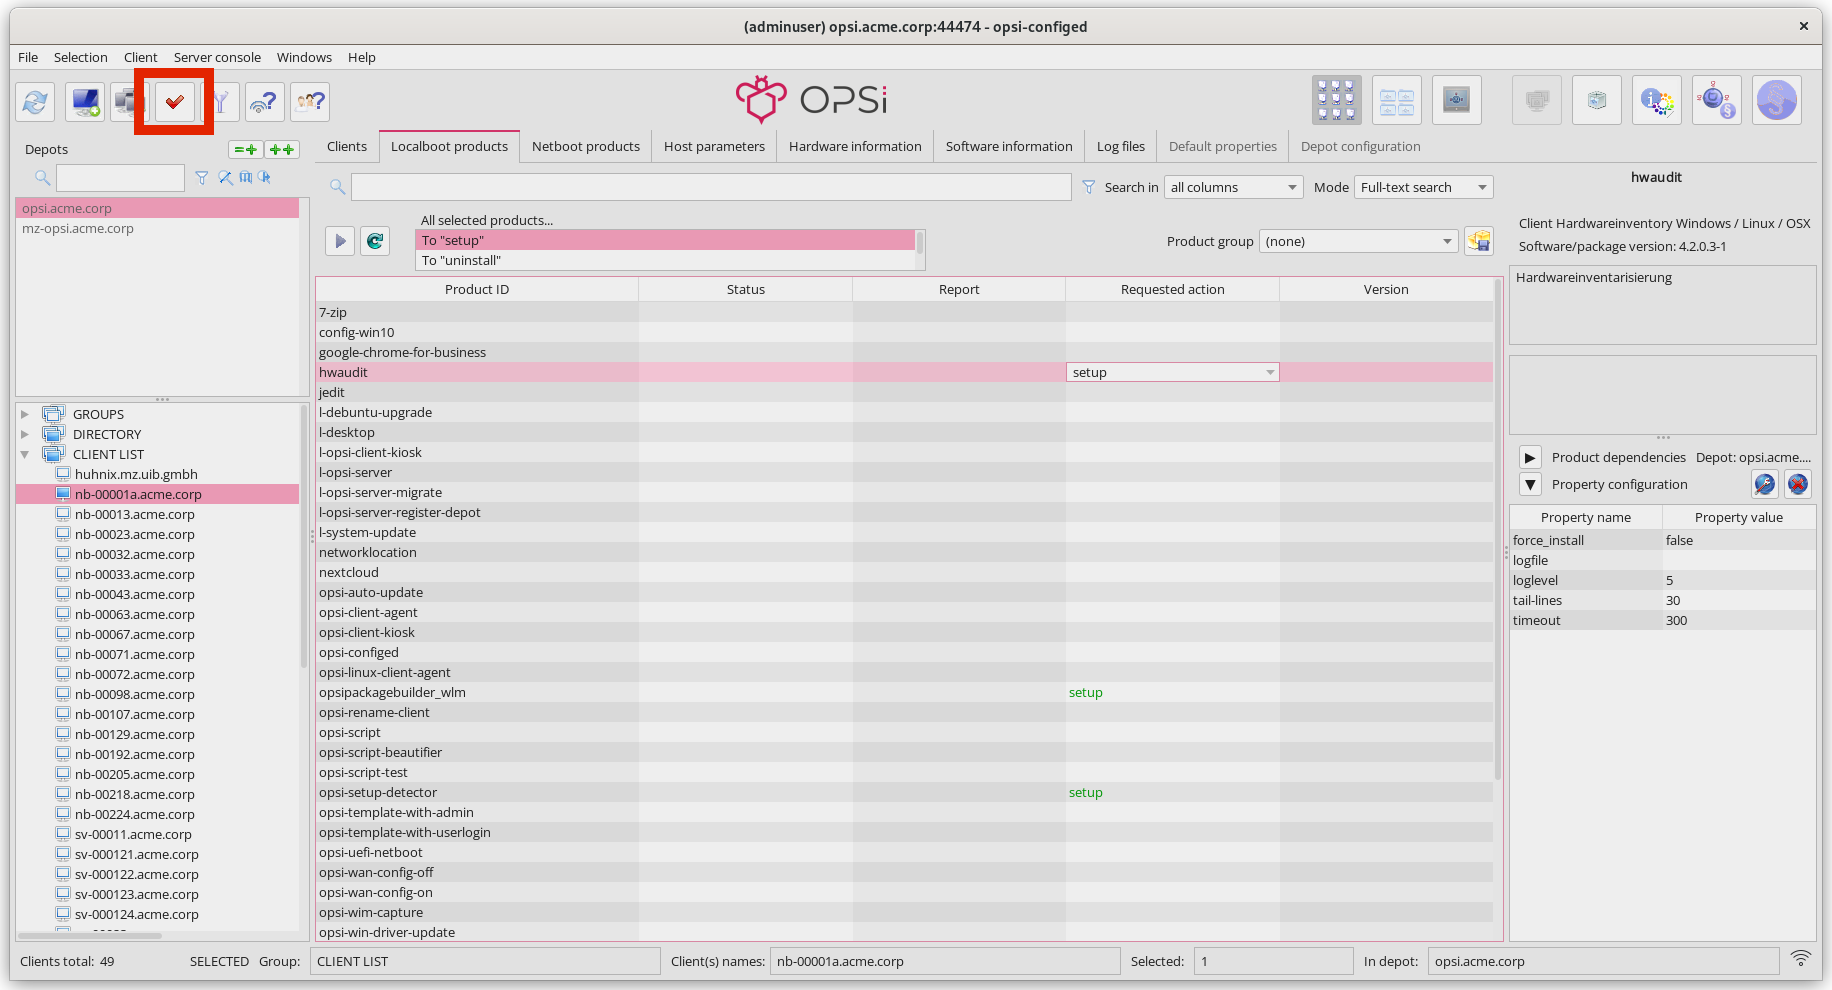 Figure 1. Select setup for the two Products and confirm your Changes.
 -
The fourth icon from the left (the green tick) will turn red. Click on this icon to apply the settings to the opsi server.
-
(Re)boot the client.
After booting the client, the first things you’ll notice are the opsi-script window and the installer.
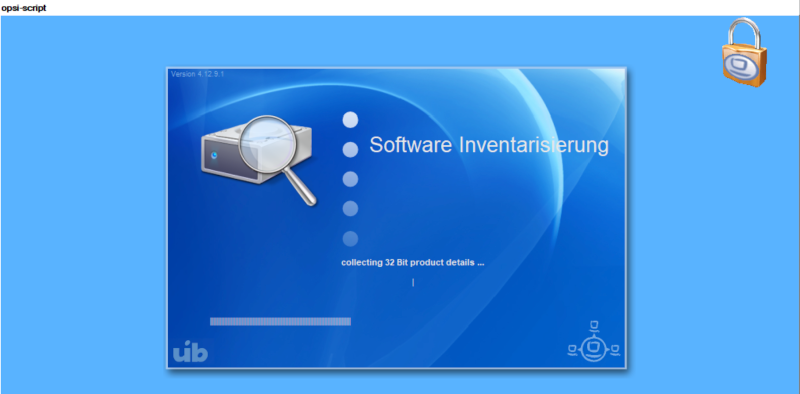
The management interface will then display detailed information about the client under two separate tabs: Hardware information and Software information.
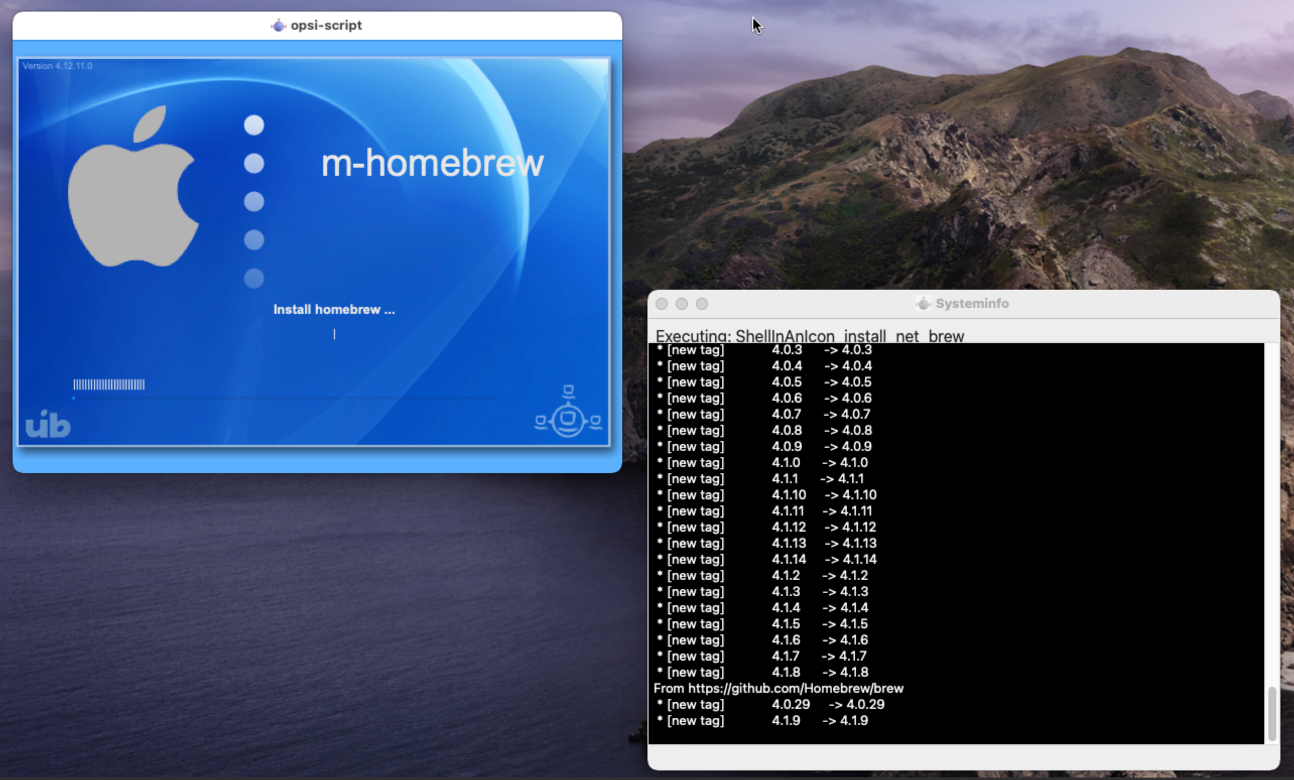
Standard Product: m-homebrew
This product installs the package management system Homebrew, which is also used by various other opsi products, for example, for installing Java (see the chapter The opsi Product m-homebrew).
To deploy the product on a macOS client, select the client in opsi-configed under Client Configuration, then navigate to the Clients tab. Switch to the Localboot products tab and click in the Requested action column for the product m-homebrew. Select setup from the dropdown menu.
Homebrew requires the command line tools for developers. Therefore, the m-homebrew package depends on the opsi package m-xcode-tools, which is installed automatically.
|
Finally, save the changes in the backend by clicking on the red tick in the top left corner. The icon will then reappear in green. Finally, restart the client or start the installation immediately via the Client menu / Trigger Event / on_demand.
On the macOS client, the client agent now starts. It installs the two products m-xcode-tools and m-homebrew.
Standard Product: m-javavm
This product installs the Java Runtime Environment (JRE), which various other opsi products use, such as the management interface opsi-configed.
To deploy the product on a macOS client, select the Client Configuration mode in opsi-configed, then choose the desired client under the Clients tab. Switch to the Localboot products tab and click in the Requested action column for the product m-javavm. Select setup from the dropdown menu.
Finally, save the changes in the backend by clicking on the red tick at the top left. Afterward, the symbol will turn green again. Restart the client or initiate the installation immediately via the menu Client / Trigger Event / on_demand.
The client agent now starts on the macOS client and installs the m-javavm product.
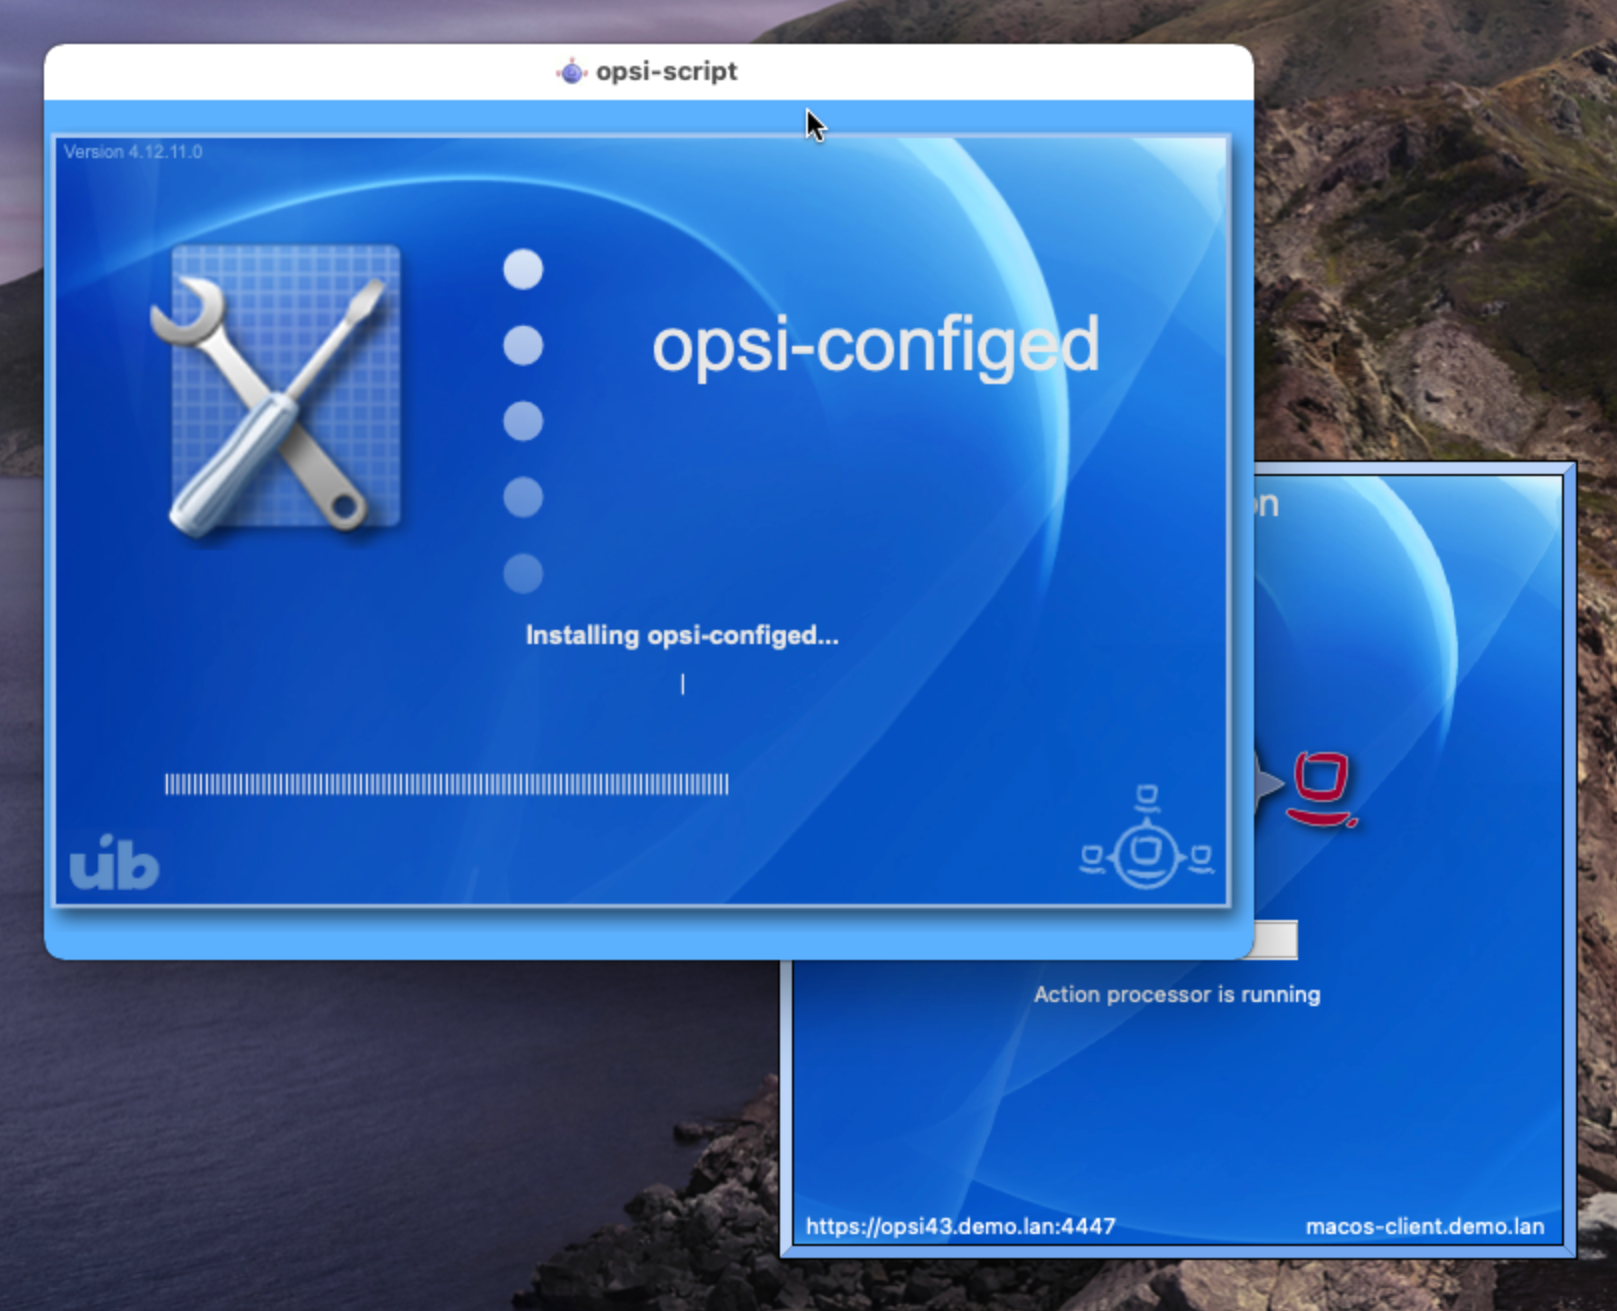
Standard Product: opsi-configed
To install the graphical management interface opsi-configed on a macOS client, be sure to deploy the standard products m-homebrew and m-javavm first!
|
To deploy the product on a macOS client, select the Client Configuration mode in opsi-configed, then choose the desired client under the Clients tab. Switch to the Localboot products tab and click in the Requested action column for the product opsi-configed. Select setup from the dropdown menu.
Finally, save the changes in the backend by clicking on the red tick at the top left. Afterward, the symbol will turn green again. Restart the client or initiate the installation immediately via the menu Client / Trigger Event / on_demand.
The client agent now starts on the macOS client and installs the product opsi-configed.