Login
Once launched, the login window of opsi-configed appears. Here, you’ll need to input the full host name (FQDN) of your opsi server or its IP address, along with your username and password.
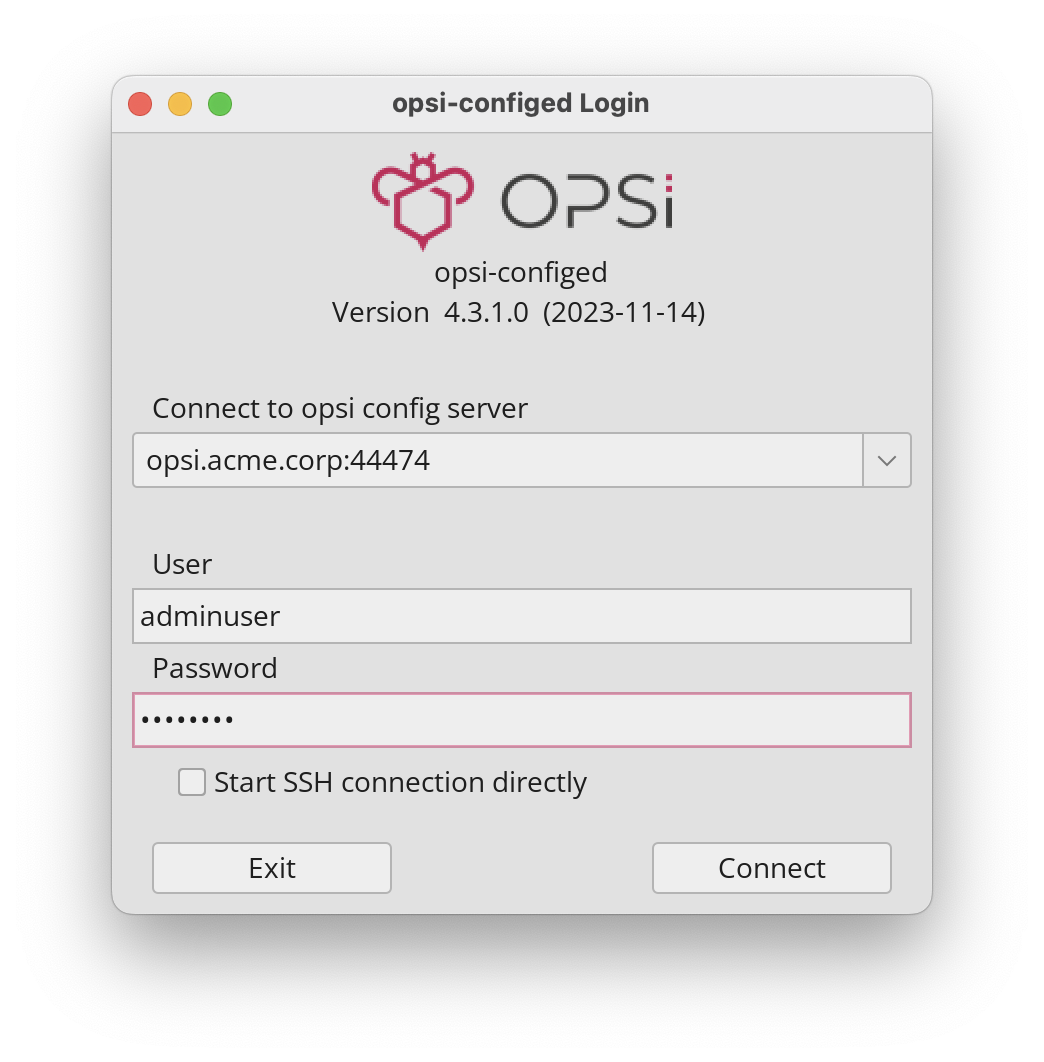
The user must be a member of the opsiadmin group (see the chapter Authorizations).
|
While logging in, opsi-configed tries to connect to the opsiconfd on the specified server and port via HTTPS. If opsiconfd is using the default port, 4447, there’s no need to mention it specifically.
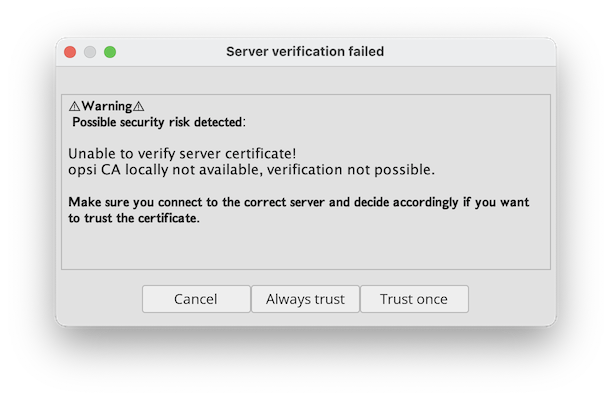
opsi-configed checks the opsi CA certificate before connecting to a server for the first time. A dialog will appear, prompting you to confirm your trust in the server’s certificate. You’re presented with three choices:
-
Cancel: Aborts the connection process and exits
opsi-configed. -
Always trust: The certificate is saved on the local computer and will also be used for future connections. You will only see the warning again if the server certificate has changed or if someone tries to access the login data with a fake certificate.
-
Trust once: Accepts the certificate for the duration of the current session. You will see the warning again the next time you start the program.
The program stores certain session information in the local user profile to restore the working environment upon a new login. This primarily includes selected client groups. From version 4.0.7, opsi-configed also uses session information to create a list of recently connected opsi servers, such as production and test servers, with the most recently used server appearing at the top of the list.