Server Installation (VM)
Read here to learn how to deploy our preconfigured virtual machine. For comprehensive information on all other installation methods, please refer to chapter Installation and Setup.
Preconfigured virtual machine
We have prepared a virtual machine available for download. You can operate this virtual machine using VirtualBox, VMware Desktop Hypervisor, VMware vSphere or Proxmox.
Download and Import
After downloading the virtual machine, unzip the file. Inside the unzipped folder, you will find three files: opsi[…].vmdk, opsi[…].mf, and opsi[…].ovf in the current directory.
To import the virtual machine, follow these steps:
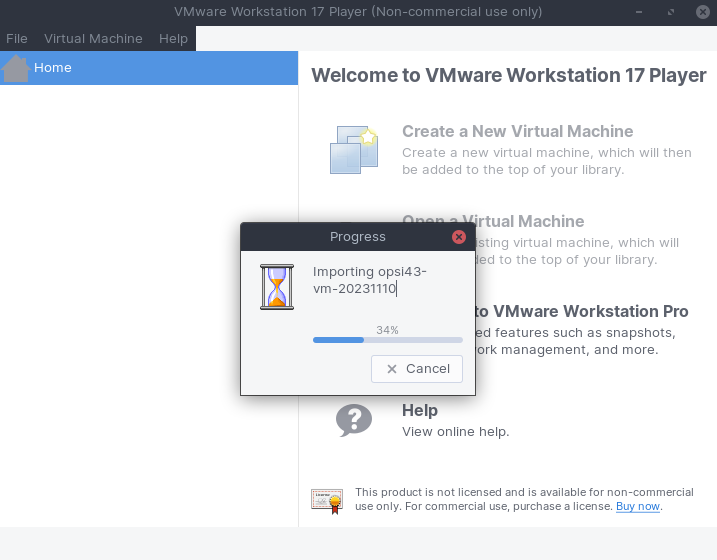
VMware Workstation Player
-
Select the menu item Open a Virtual Machine and navigate in the file selection dialogue to the directory with the files from the zip file you have just unpacked.
-
Select the menu option Open a Virtual Machine and, in the file selection dialog, navigate to the directory containing the files from the recently unzipped zip file.
-
Select the file with the
.ovfextension. (If necessary, change the file type toVirtual Machines (*.vmx, *.ovf, *.ova)at the bottom of the dialog). -
Upon clicking Open, you can assign a name to the machine and select its storage location.
-
Click Import to finalize the process.
-
You can now start the new VM by selecting Power On.
ESXi Server
-
Start the vSphere Client.
-
Create a new machine via File / Deploy OVF Template, and then navigate to the
.ovffile. -
Click Open, followed by Next.
-
Enter a name for the machine or accept the default setting.
-
Click on Next to review all settings. Click on Finish to initiate the import.
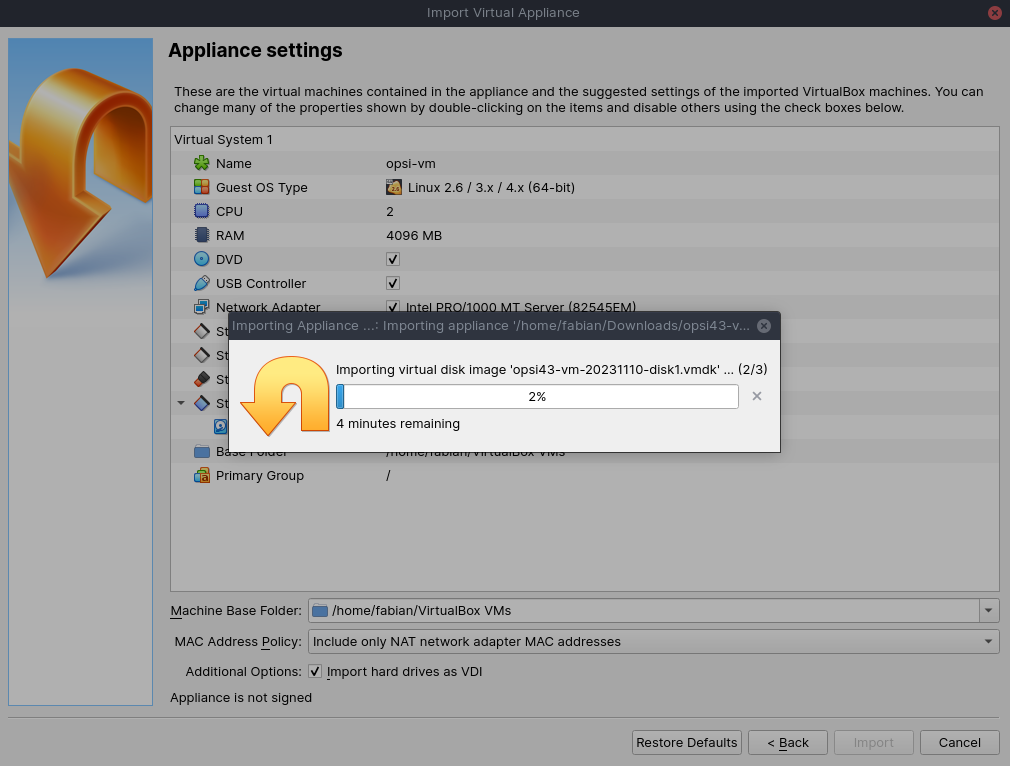
VirtualBox
-
Go to File / Import Appliance in the menu.
-
In the file selection dialog, navigate to the
.ovffile and click Open. -
After clicking Next, you can adjust the settings in the subsequent dialog, such as changing the name, modifying the size of the working memory, etc.
-
Click on Import to complete the process.
Proxmox
-
Please login to your Proxmox host via SSH and execute the following commands: [source,bash] ---- wget https://tools.43.opsi.org/stable/opsi43-vm.zip unzip opsi43-vm.zip qm importovf VMID /mnt/pve/storage01_vmimages/opsi43-vm-VERSION.ovf STORAGEPOOL ----
Please replace the VMID to a free id, the STORAGEPOOL to your configured pool and the VERSION to the just downloaded opsi-vm version.
If you wish you can change the vm name from opsi-vm to another name in the vm options after the import succeeded.
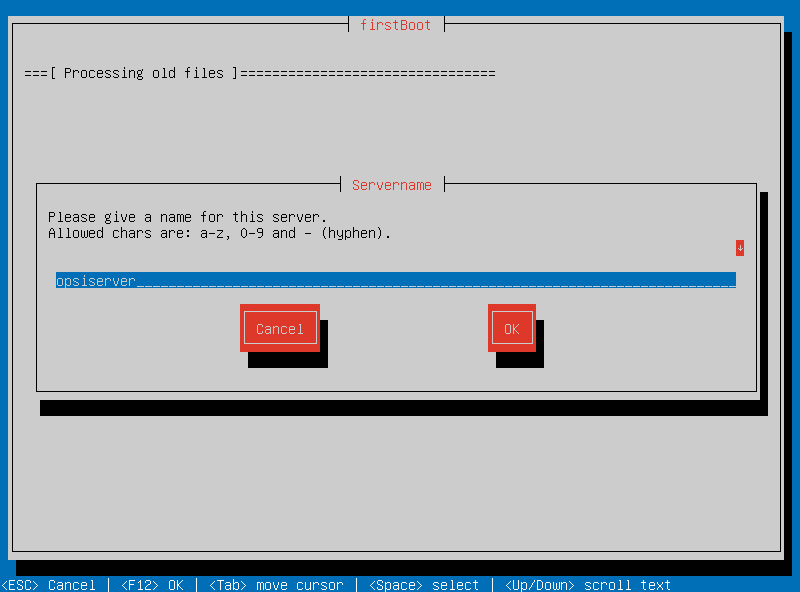
First Boot: the Script firstboot
The script firstboot, which automatically runs during the initial boot of the appliance, assists you in setting up the network configuration. The logfile for firstboot is located at /var/tmp/firstboot.log.
The firstboot script should not be used for renaming an already configured OPSI server!
|
The script will prompt you for the following information:
- Language
-
Select the desired system language. Choice is
english,german, orfrench. - Server Name
-
Specify the name of this OPSI server (excluding the domain), such as
opsiserveroropsidepot. - Domain
-
Enter the DNS domain (not the Windows domain, and it must contain a dot), for example,
mycompany.internal. - IP Address
-
The server’s IP address, like
192.168.1.50. - Gateway
-
IP address of the network gateway, e.g.,
192.168.1.1. - DNS
-
IP address of the DNS server, for instance,
192.168.1.1. - Netmask
-
The server’s netmask, e.g.,
255.255.255.0. - DHCP-Backend
-
Select if you want to use the OPSI dhcp backend. This is usefull if you don’t have an existing dhcp server.
- Proxy
-
Address and port of the proxy server, if needed, like
http://myuser:mypass@192.168.1.5:8080. - Password for root
-
Create a password for the local administrator user. Enter the password twice to confirm and avoid typing errors.
- Password for adminuser
-
Set a password for the local OPSI administrator. Enter this password twice as well.
If all input fields have been filled and are valid a button will appear on the buttom of the window. Click this button on the OPSI-VM will be configured. After a reboot the virtual appliance is ready to use.
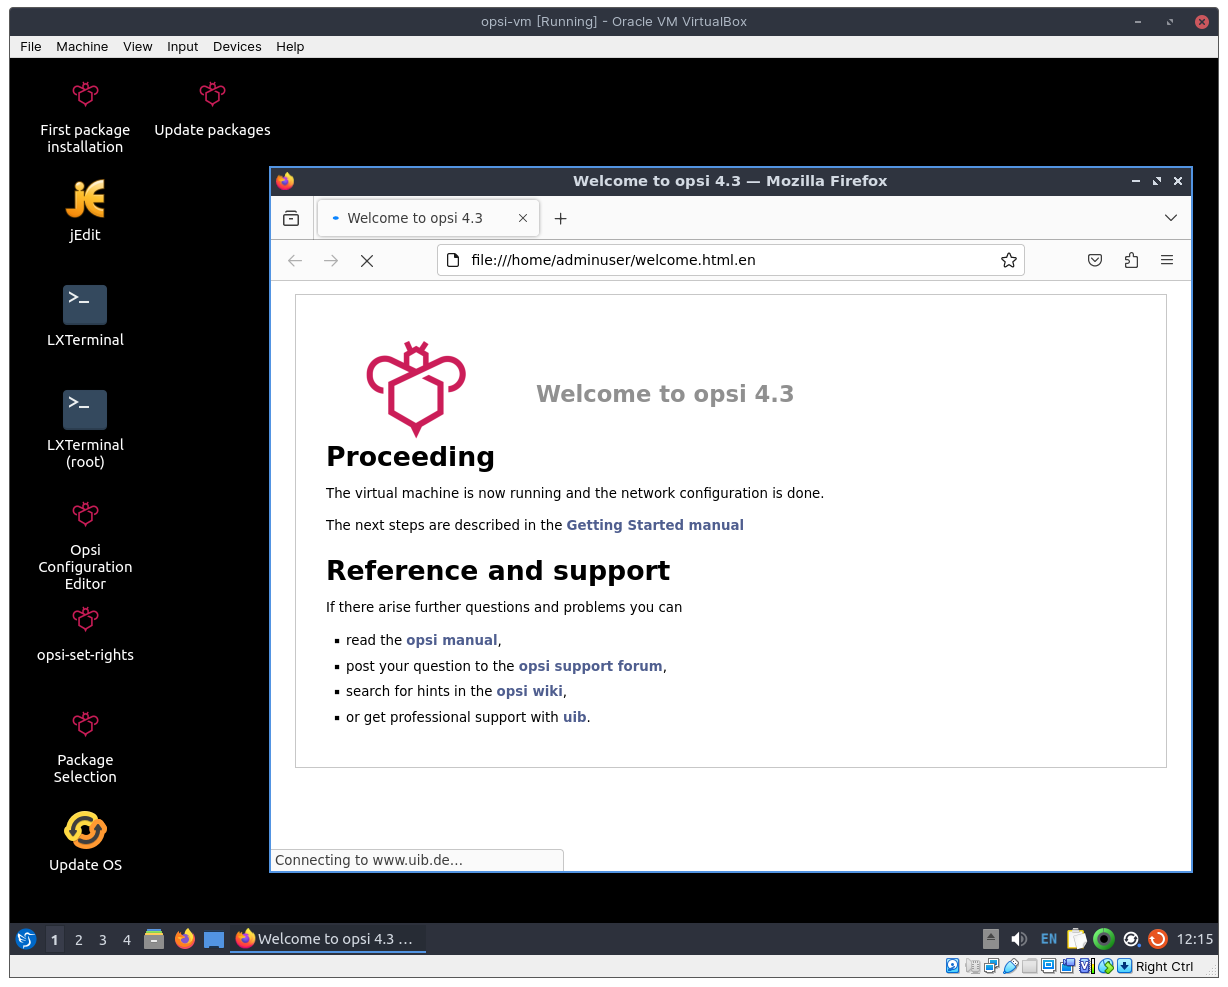
Second Start: Login and Update
Upon restarting, log into the graphical working environment using the username adminuser and the password you established during the installation. The virtual machine includes three streamlined desktop environments, which you can select from the Session menu at the top.
After logging in, Firefox browser will launch, opening a page with additional links to the manual, our forum for community support, the OPSI wiki, and professional uib support.
If you encounter a message indicating that no network connection is available, it may be due to the specific configuration of the virtual appliance. Before troubleshooting, it’s recommended to restart the server. You can do this either by clicking the shutdown button in the start menu or by entering the command reboot in a terminal window.
|
To update the packages of the underlying Linux system to their latest versions, you can use the Update OS icon located on the desktop background. Double-click on the icon, and when prompted for a password, enter the password of the user adminuser.
Since the virtual machine is based on Ubuntu, you can also update the packages using apt. Open a terminal and execute the following commands:
sudo apt update
sudo apt --yes --auto-remove upgrade
Next, you can download and start the user interface opsi-configed.