Depots
If you operate multiple depot servers in your environment, opsi-configed includes all the tools needed to flexibly select and use them. This chapter explains how to manage OPSI depot servers with opsi-configed. It shows how to work with multiple selections, get an overview of the associated clients, and introduces the features of the depot configuration. Additionally, you will learn how to manage and customize standard properties for products across various depots.
Depot Selection
If you operate multiple OPSI depot servers, they appear in the list on the left side. Select for that the tab Depots. By default, the depot on the OPSI config server is highlighted, and opsi-configed displays the clients belonging to this depot.
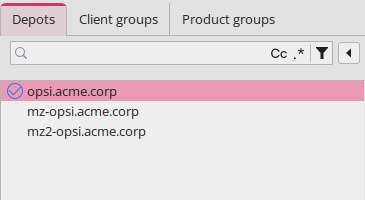
The list of depot servers supports multiple selections, meaning you can select several depots and display all associated clients. (More precisely: you then see all clients that belong to any of the selected depots for the selected group.)
| You can only edit a group of clients if they have depots with identical package configurations. This means the depots must be synchronized. If you try to edit clients from asynchronous depots together, you will receive an appropriate warning or error message. |
You can use the context menu (right-click) to select all depots or depots with an identical product stock.
| Note that the group selection remains when switching depots. This is not always the desired behavior. If necessary, activate a different group or the entire client list for the newly selected depot. |
Select the Depot configuration mode (see the section Selecting the Mode) to access the tabs Depot configuration and Default properties in the main window. Select a depot from the list on the left to adjust the settings via the two tabs.
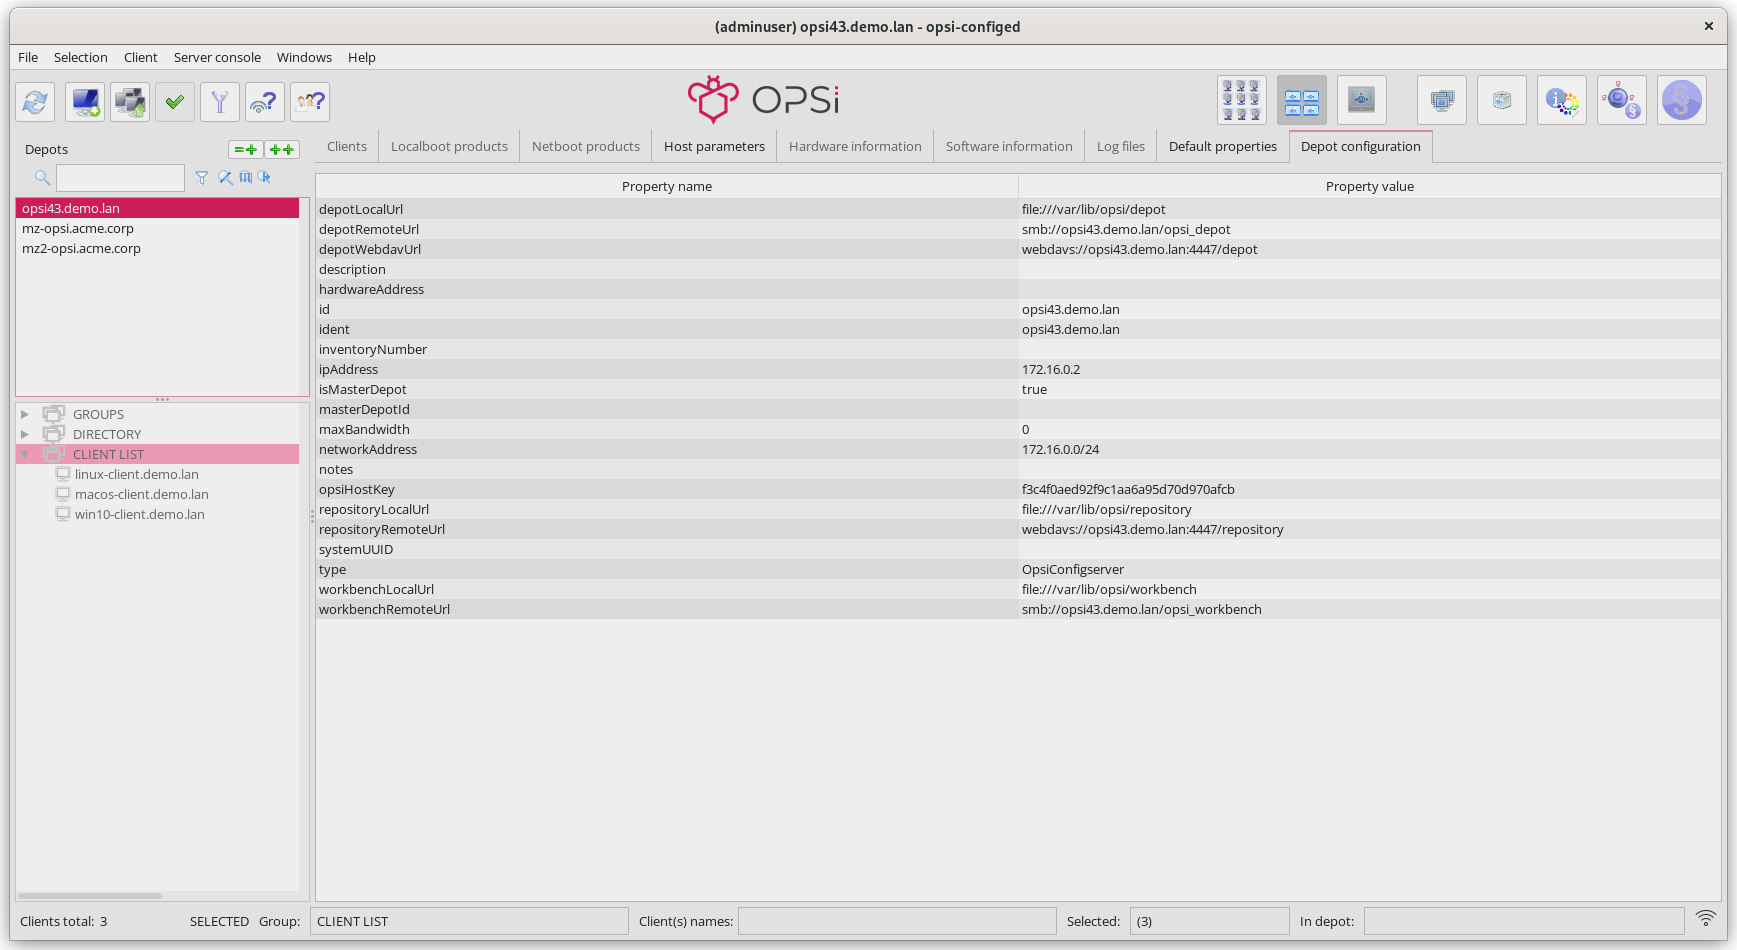
Depot Configuration
On this tab, you can view and modify the current configuration of the selected depot. This includes parameters such as the URL, the network address of the share, the IP address, etc. Click on a property value in the right column to open a dialog for editing. Finally, click on the red checkmark in the upper left corner to save the configuration.
Default Properties
To change the default values of localboot and netboot products for one or several OPSI depots, open the Default Properties tab. The table displays all products, their names, type, product, and package version. Select a product to open the detail view on the right side (see section Displaying Detailed Information). Below, a field shows all depots that contain the selected product.
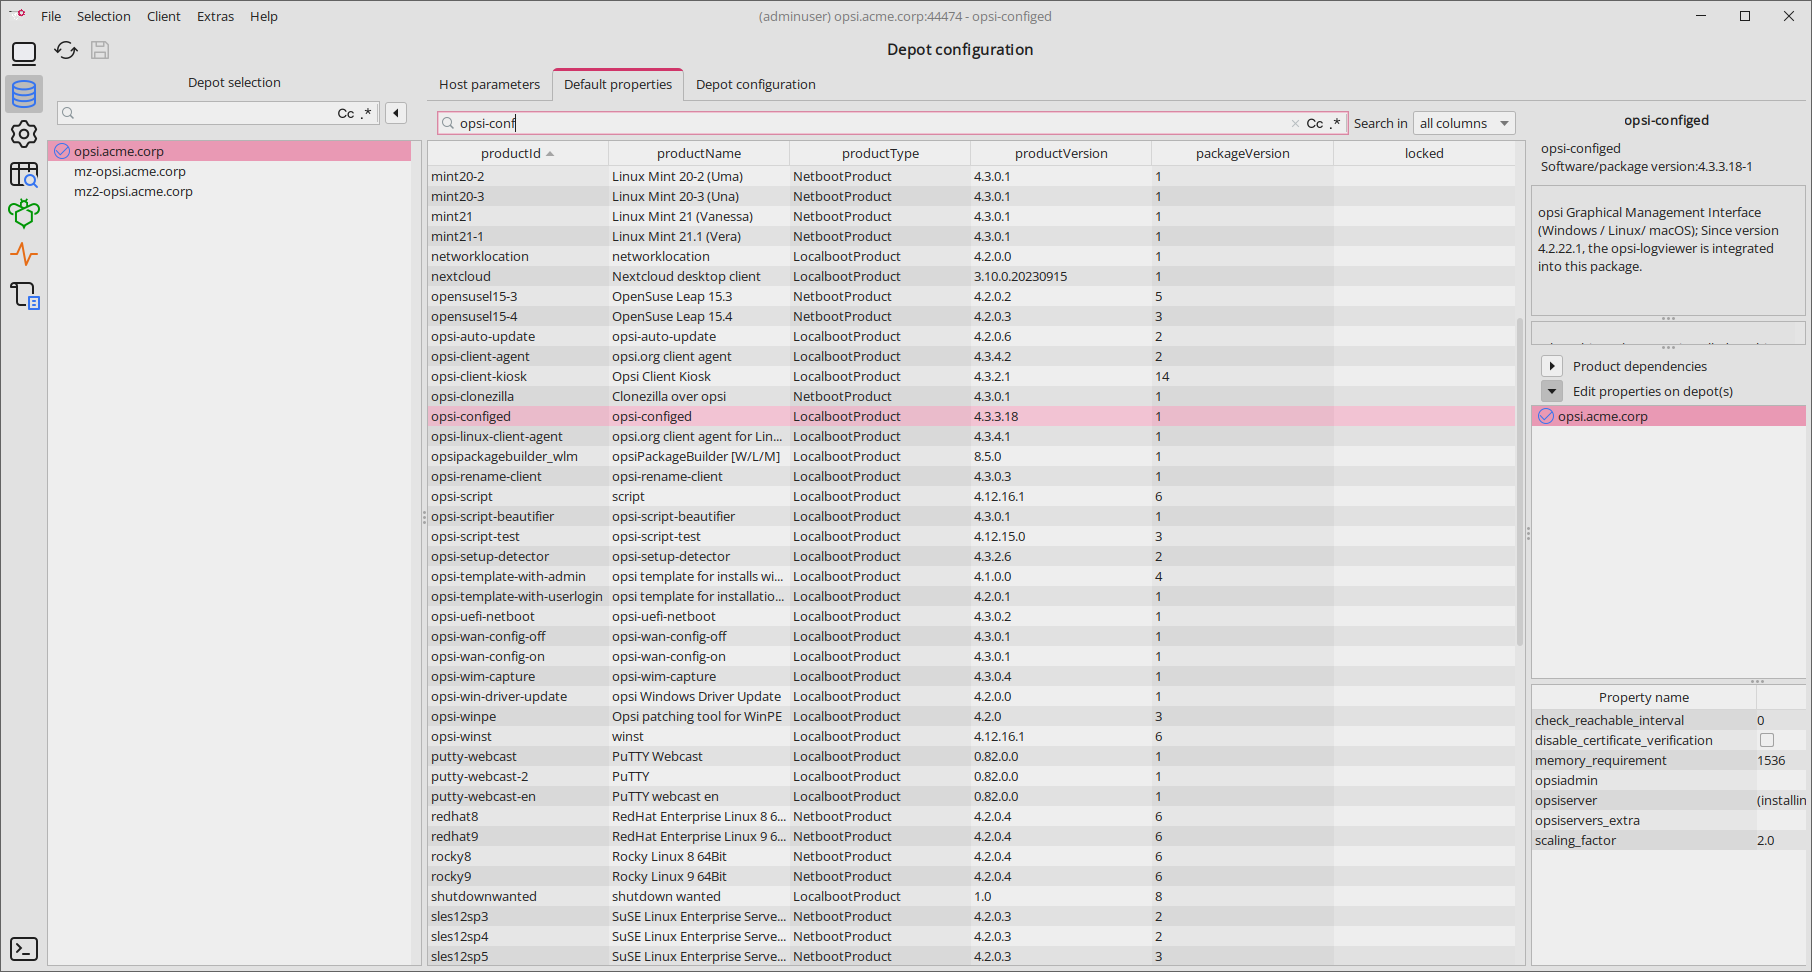
You can select one or more depots to change the default values (i.e., the depot values) of the product. By default, all available depots are selected. Use the usual keyboard shortcuts ([Ctrl]+[A], [Ctrl]+Click or [Shift]+Click) to select multiple or all depots.
If the property value is grayed out, it means this property has different values on the selected depots.
You can use the context menu (right-click) to select all depots or depots with an identical product stock.