Admin
The Admin section (accessible from the left navigation bar) provides access to system administration features: a remote terminal, diagnostic tools, and maintenance functions.
Terminal
The terminal provides access to a server console via the OPSI-Messagebus.
The OPSI config server is entered here by default.
Press [ Connect ] to establish a connection to the home directory (/var/lib/opsiconfd/home/) as user opsiconfd.
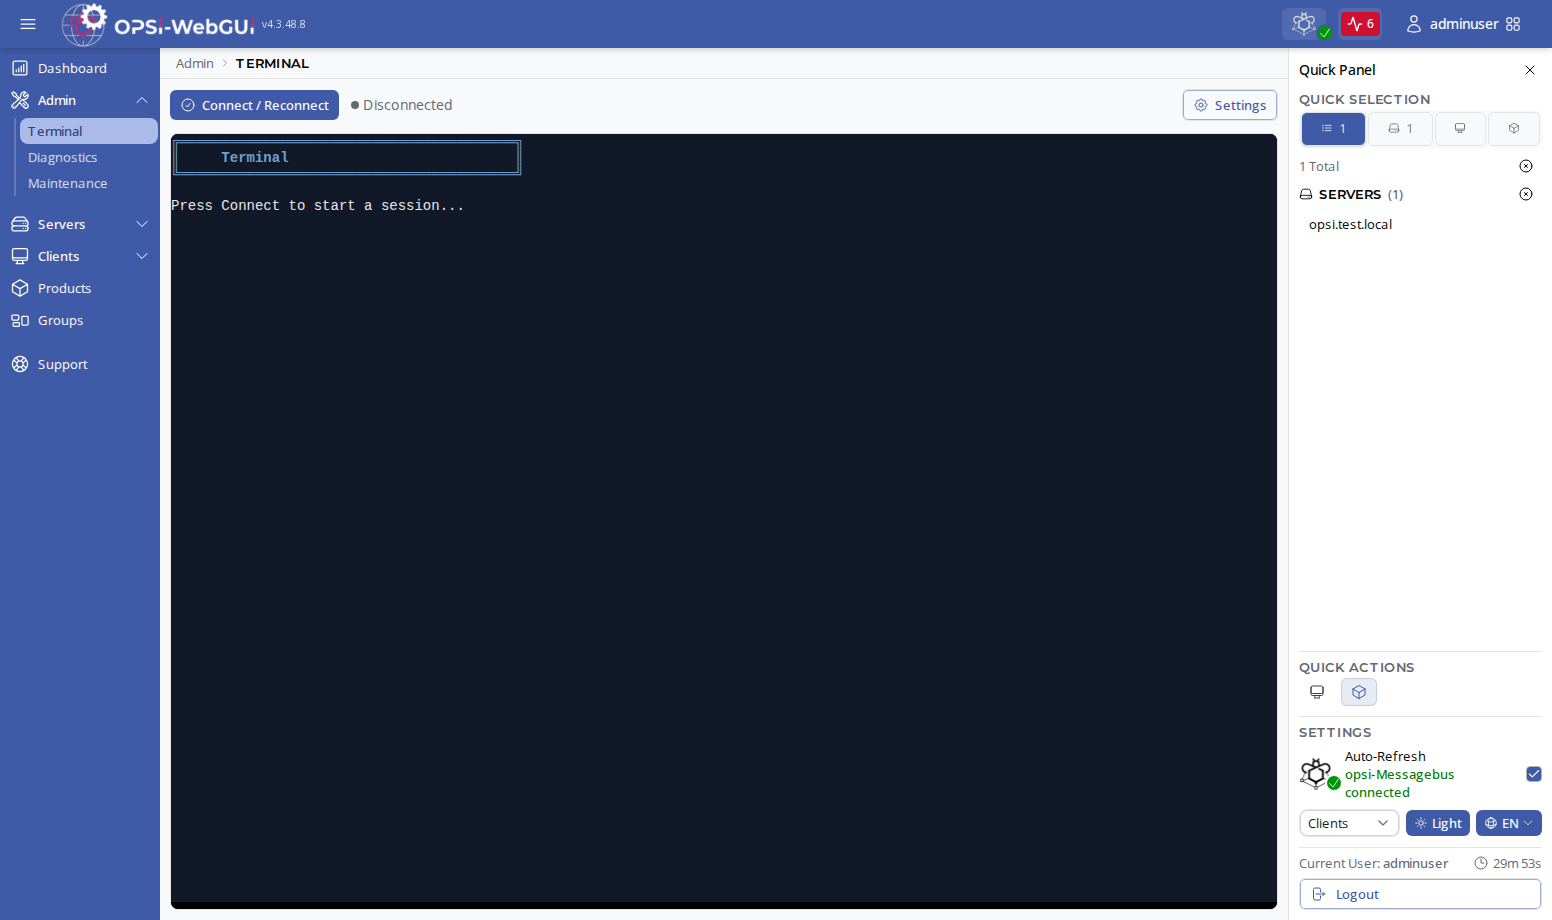
Once connected, the terminal behaves like a standard shell session on the opsiconfd host. You can use it to inspect logs, run OPSI CLI commands, and perform manual maintenance tasks.
The [ Disconnect ] button closes the session cleanly.
Alternatively, typing exit in the terminal ends the session, after which the terminal disconnects automatically.
Use Quick Commands to save frequently used commands and run them again from the terminal menu. If the terminal is disconnected when you run a saved command, the OPSI-WebGUI reconnects before executing it.
You can customize the terminal session via the Settings button:
-
Terminal ID: A unique identifier for the terminal session. The default value is auto-generated. Change it only if you need to reconnect to a specific session.
-
Terminal Channel: The messagebus channel to connect to. By default this is the config server; enter a depot server’s service channel to open a terminal there instead.
| If the terminal is unavailable, see the troubleshooting entry Terminal Not Available. |
Diagnostics
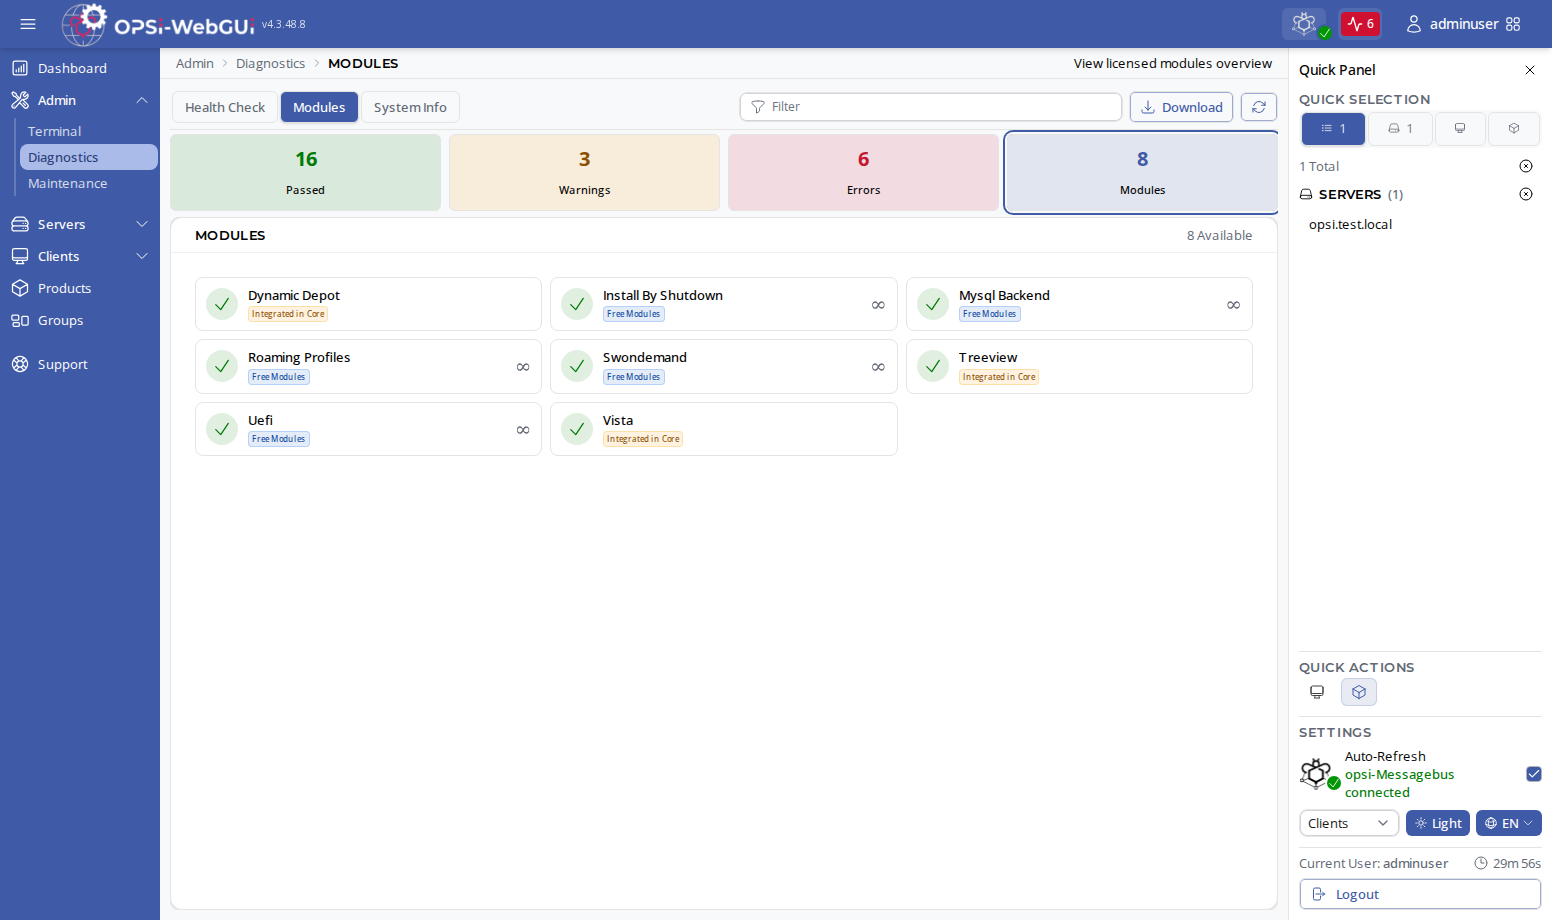
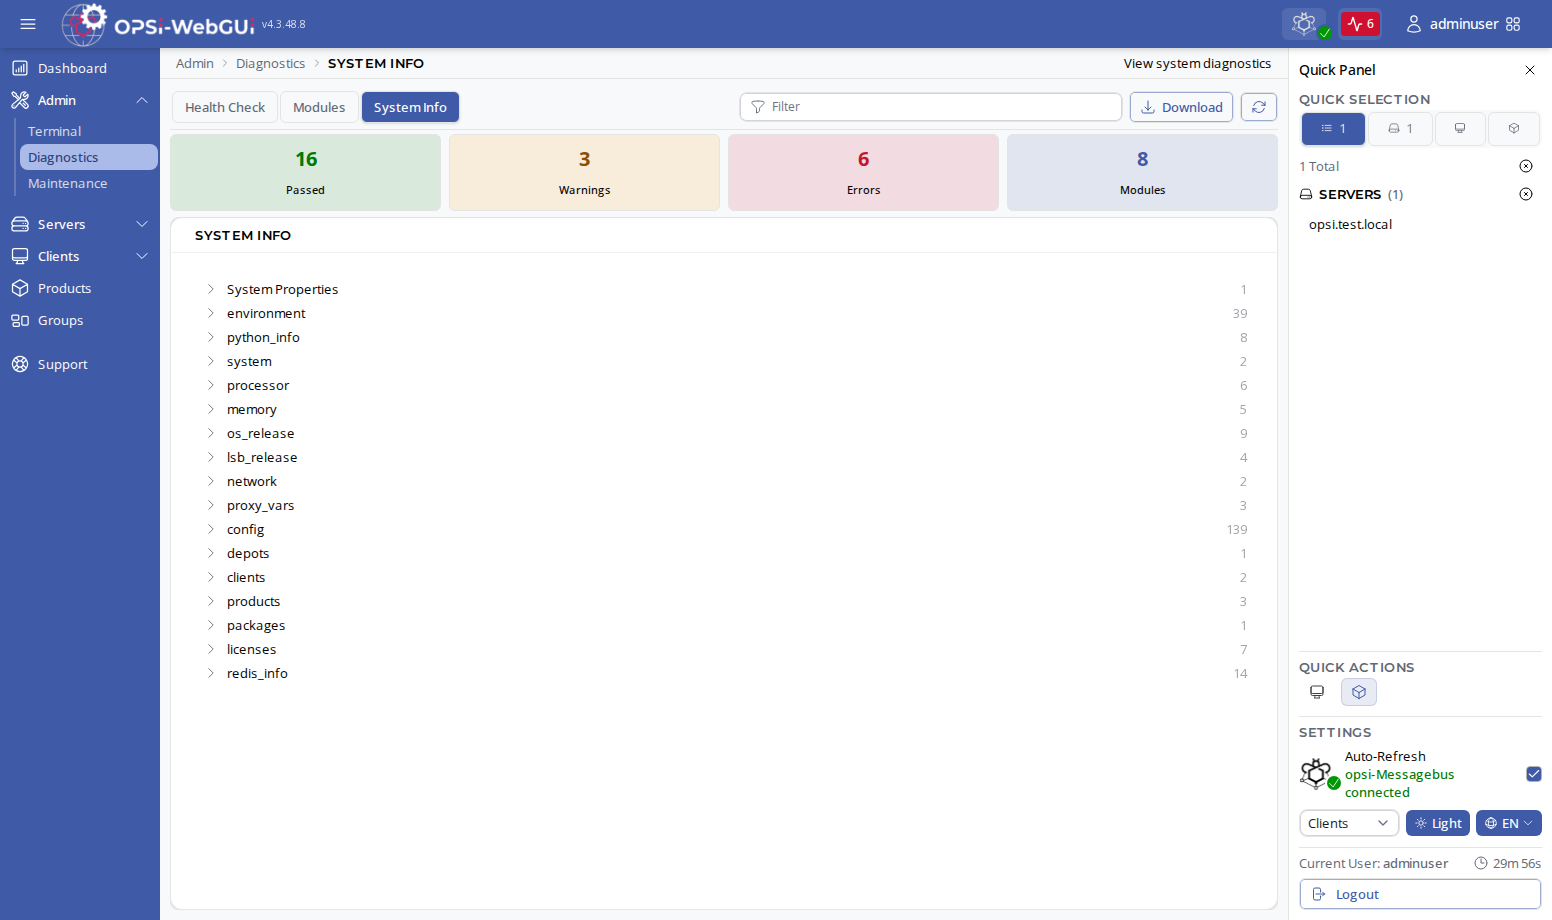
Navigate to Admin / Diagnostics to open the combined diagnostics view. The page is organized into three tabs: Health Check, Modules, and System Info.
Health Check
The Health Check tab runs automated checks of your OPSI components and displays the results. You can find out more at opsiconfd health check.
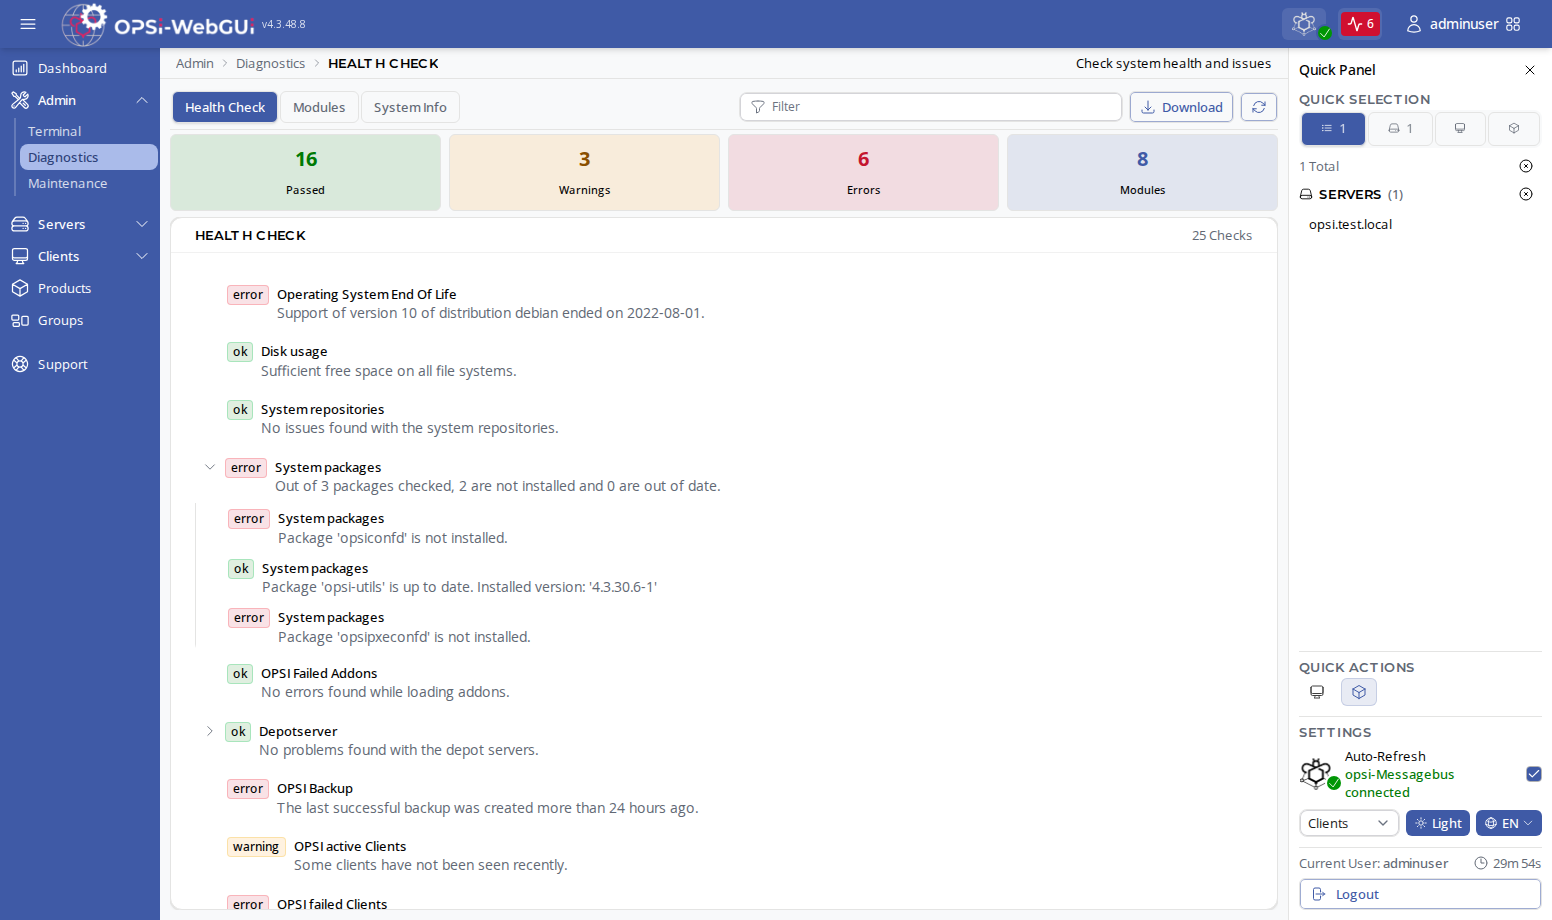
Each check result is shown as a row with a status badge:
-
OK (green): The component is functioning normally.
-
Warning (yellow): Something requires attention but is not critical.
-
Error (red): A problem that should be resolved promptly.
Use the status filter buttons at the top to show only OK, warning, or error results. Click any row to expand it and read the detailed description and recommended action.
| The Dashboard also shows a summary of the health check state. Click the health check badge, or the warning/error indicator in the Top Bar, to open this page. |
Maintenance
Navigate to Admin / Maintenance to access maintenance tasks.
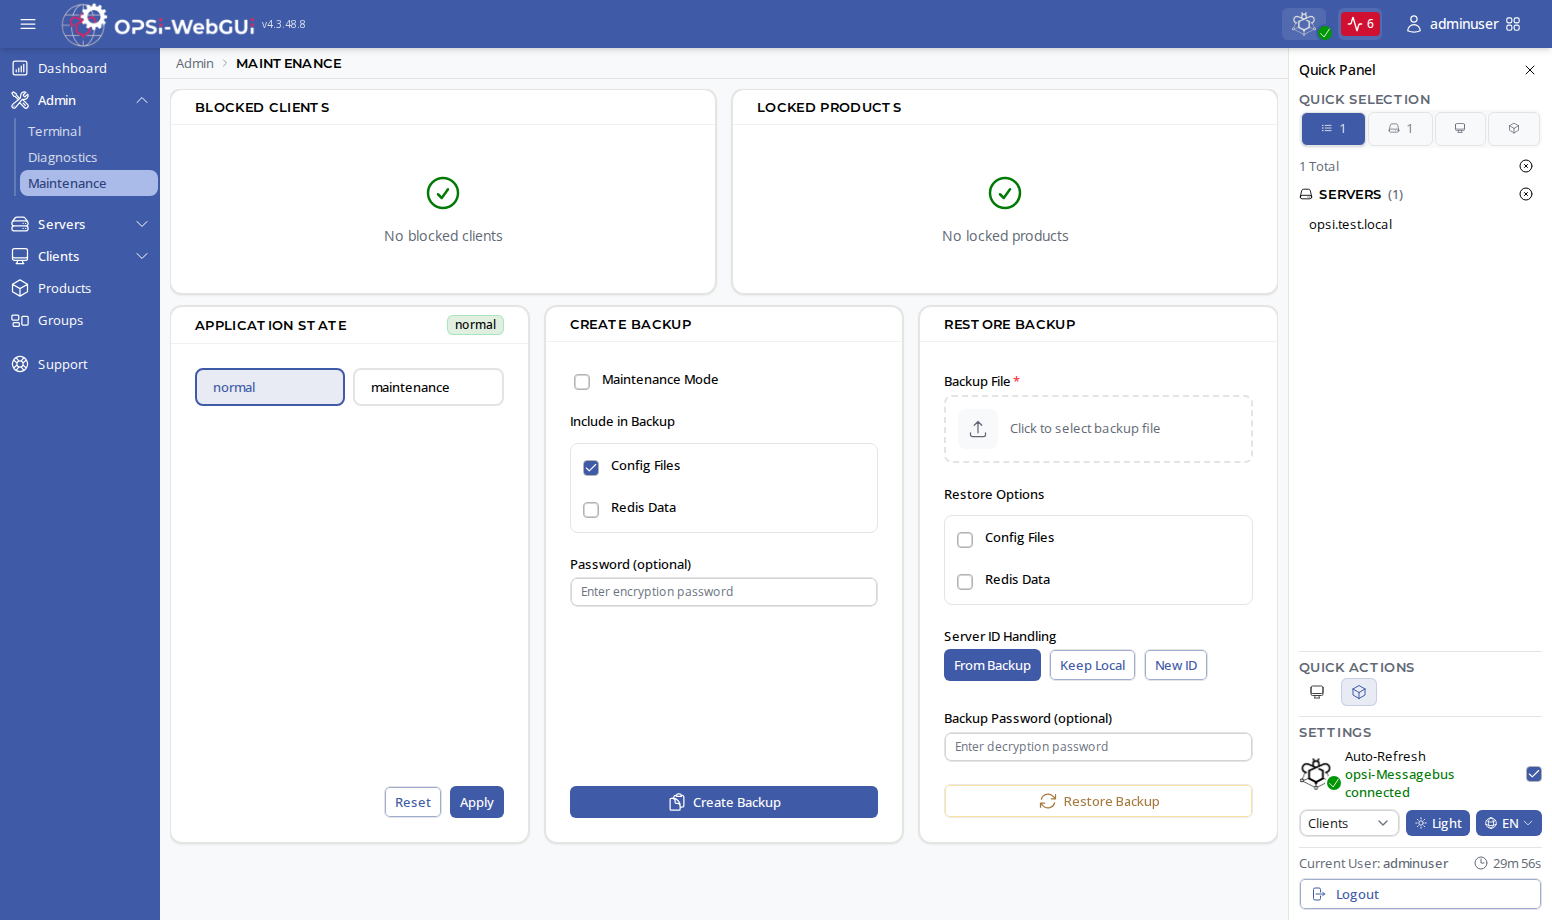
The Maintenance page is organized into four functional areas:
Blocked Clients
Displays clients that have been temporarily blocked by opsiconfd, typically because of repeated failed authentication attempts.
-
View: The blocked clients list shows the client ID.
-
Unblock individual: Click the unblock button next to a client to remove the block immediately.
-
Unblock all: A single button removes all blocks at once.
Locked Products
Displays products that are currently locked by the server (usually because an installation or an action is in progress).
-
View: Each row shows the product ID and the depot that holds the lock.
-
Unlock: Use the unlock button to release a lock if an operation was interrupted unexpectedly.
Maintenance Mode
The Application State card shows whether the server is running normally or in maintenance mode (see section Maintenance in the opsiconfd documentation).
-
Maintenance: Switch to maintenance mode.
-
Normal: Switch back to normal operation.
Backup and Restore
The backup section lets you create and restore server configuration backups directly from the OPSI-WebGUI.
Creating a backup:
-
Select which options to use: Maintenance mode (put the server into maintenance mode while the backup runs), Configuration files, and/or Redis data.
-
Optionally enter an encryption password. If provided, the backup file is encrypted and the password will be required to restore it.
-
Click Create Backup.
-
The backup file is downloaded by your browser.
Restoring a backup:
-
Click Upload Backup and select a previously created backup file.
-
If the backup was encrypted, enter the password.
-
Click Restore.
-
opsiconfd will apply the backup content and may restart services as needed.
For detailed information on backup and restore, refer to the chapter Backup of the OPSI Server.