Login and Routing
This chapter explains how to log in to the OPSI-WebGUI and what happens after authentication.
Accessing the OPSI-WebGUI
Open the following address in your browser, where <opsi-server> is the hostname or IP address of your OPSI config server:
https://<opsi-server>:4447/addons/webgui/app
Login Page
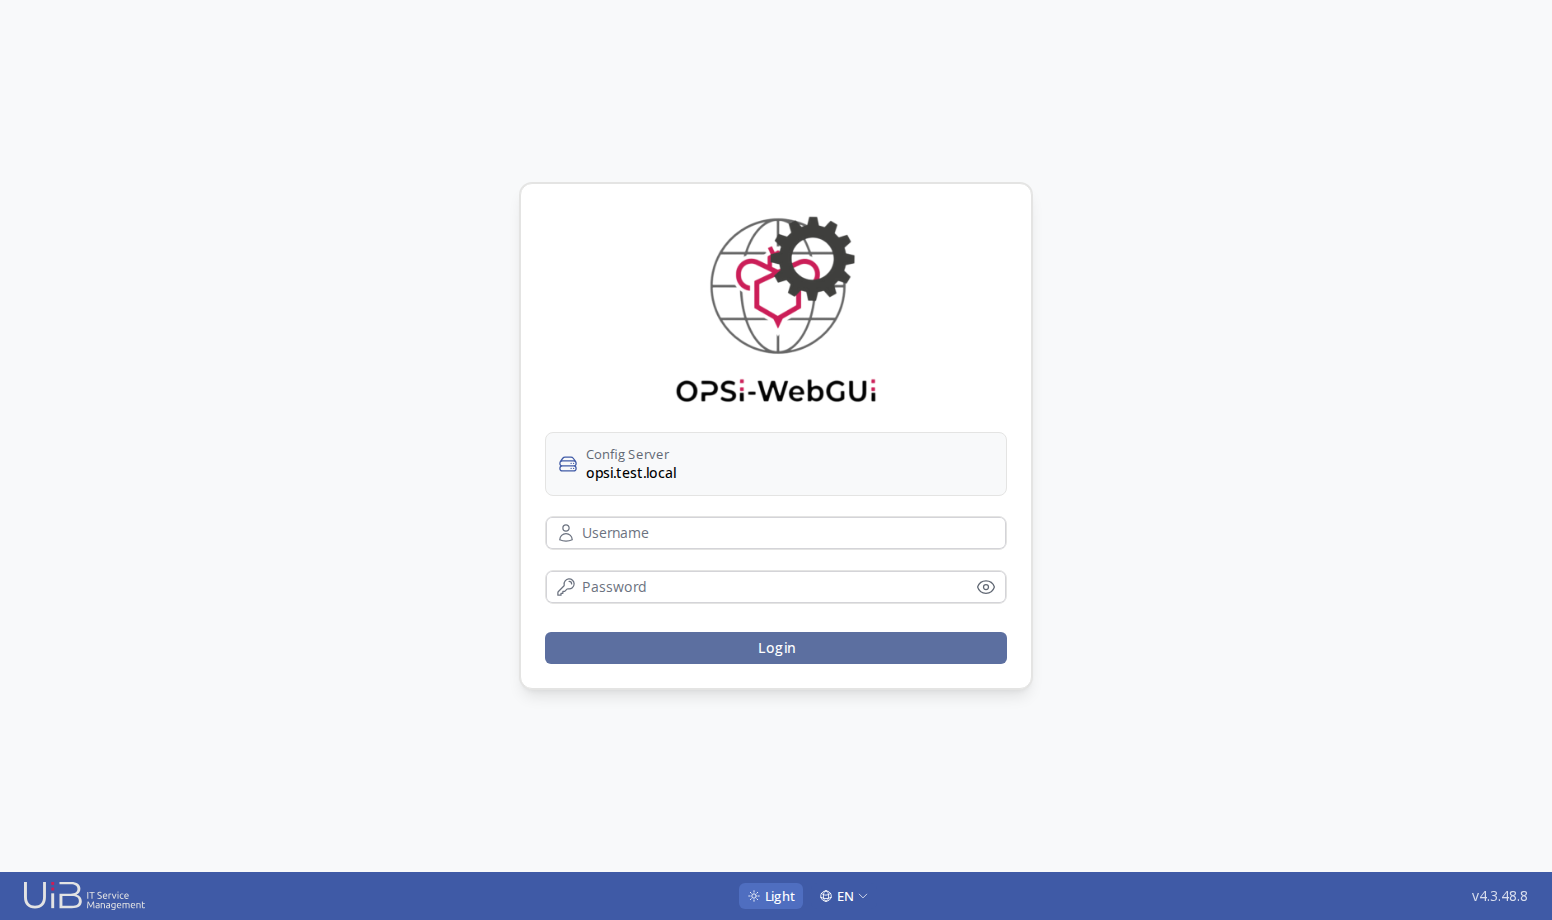
The login card shows the name of the config server you are connecting to and contains:
-
Username and Password fields (the password field has a show/hide toggle)
-
Login button
-
Login with SAML button - only if the server offers single sign-on
At the bottom of the page you can switch the theme (light/dark) and the interface language before logging in; the application version is displayed there as well.
For a complete explanation of theme and language behavior, see Default Page, Theme, and Language.
Routing After Login
Default Page
After login you land on your default page. By default this is Clients, but you can change it in the Quick Panel, see Default Page, Theme, and Language. Clicking the OPSI-WebGUI logo in the top bar also takes you to your default page.
Deep Links
The OPSI-WebGUI keeps your context in the URL, so you can bookmark views or share them with colleagues.
For example, the table filter is stored as a filter query parameter, and an open detail panel is reflected by parameters such as client, view and panelType:
https://opsi.example.com:4447/addons/webgui/app/clients?filter=win
https://opsi.example.com:4447/addons/webgui/app/clients?client=pc01.example.com&view=panel&panelType=config
Opening such a link after login restores the same view.
Logging Out
Logout is described in the Quick Panel chapter: Account Information and Logout.